
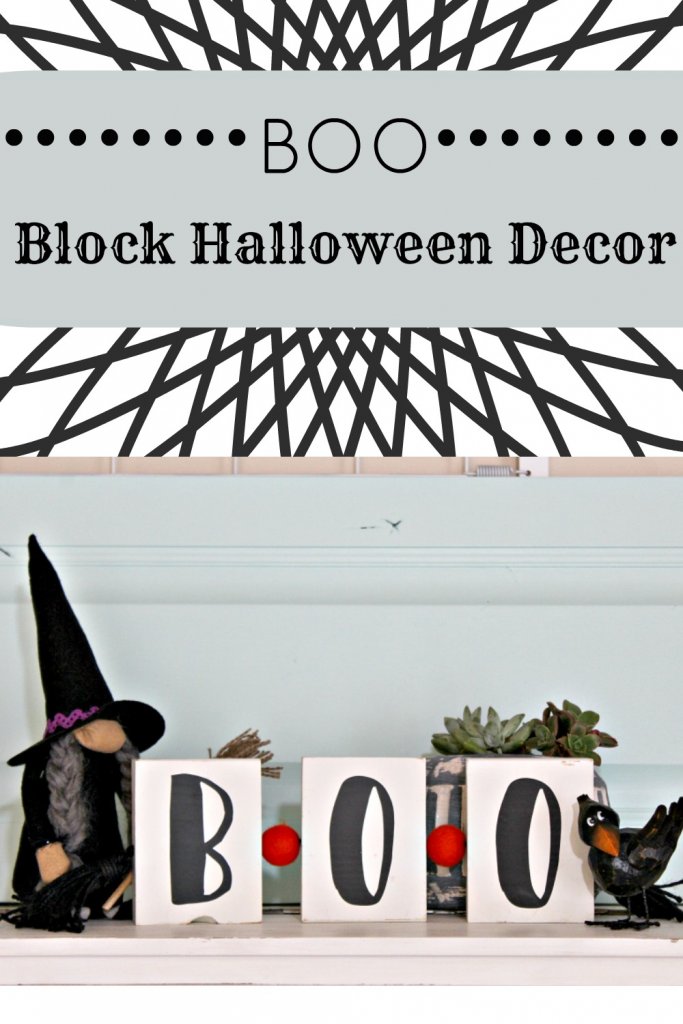
HMMM, What shall I make?
If you love to craft you know that, as a crafter, things are collected . Because of course you can make SOMETHING out of that. I have many, many things that have piled up and I’ve been doing my best, the last few months, to use up what I have before I buy more supplies to fill my space. This month for the Inspire My Creativity link up, the theme is USE YOUR STASH. Well, when you look at my craft room, you think, ‘WHICH ONE?’ 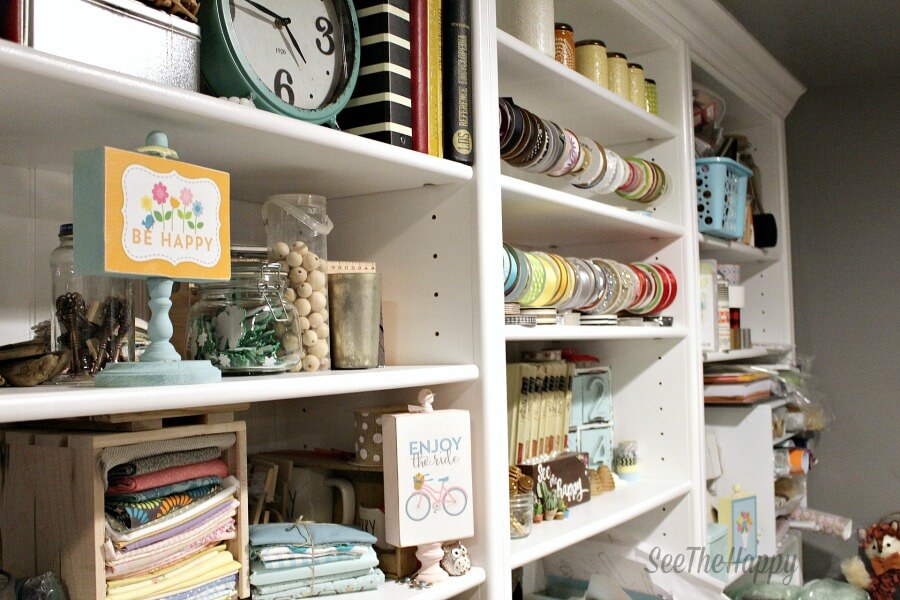 With Halloween just around the corner, I decided to make something fun to decorate with. Over the last week I have walked through 2 craft stores, for one reason or another, and at both of them I saw a cute wood block decor piece for Halloween. The minute I saw it, I knew I had everything to make my own and couldn’t wait to get started.
The stash I chose to use is one that has been sitting in my paint cabinet for over a year. A friend of mine was getting rid of a stash of left over wood blocks she had used for a craft, and of course I was happy to take them off her hands. I’m excited to finally use them and free up a little space in my cabinet.
Items needed: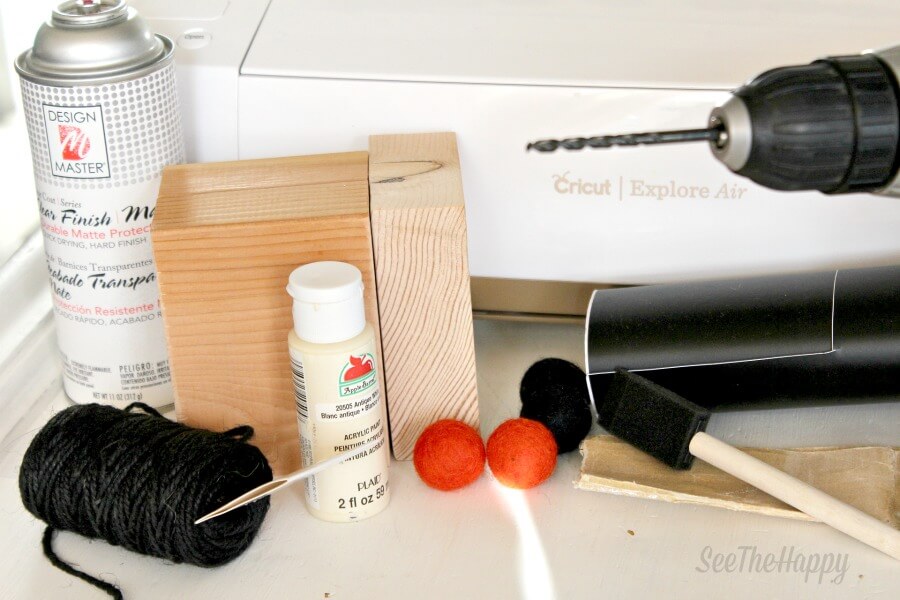
- 3 wood blocks- approximately 31/4″ x 4 1/4″
- Sand paper-150 and 220 grit
- Acrylic paint- color of choice
- Foam brush/ paint brush
- Black vinyl
- Cricut machine
- Drill- I used 3/16 drill bit
- Thick black twine
- large yearn needle
- 2-4 felt balls- about 2.5 cm each
- Clear Finish spray paint
- Hot glue gun
step 1
If you don’t have some wood blocks on hand, grab a 2×4 and cut some with a chop saw or whatever you have available. Quickly sand your blocks with 150 grit, to get the big slivers off. Then with 220 grit to smooth it out. I love the old farmhouse look so I didn’t worry too much about getting this perfect.
Step 2
Paint blocks. You’ll probably need 2-3 coats. Let them dry between each coat, it’s a good thing that acrylics dry fast. Then spray your top coat.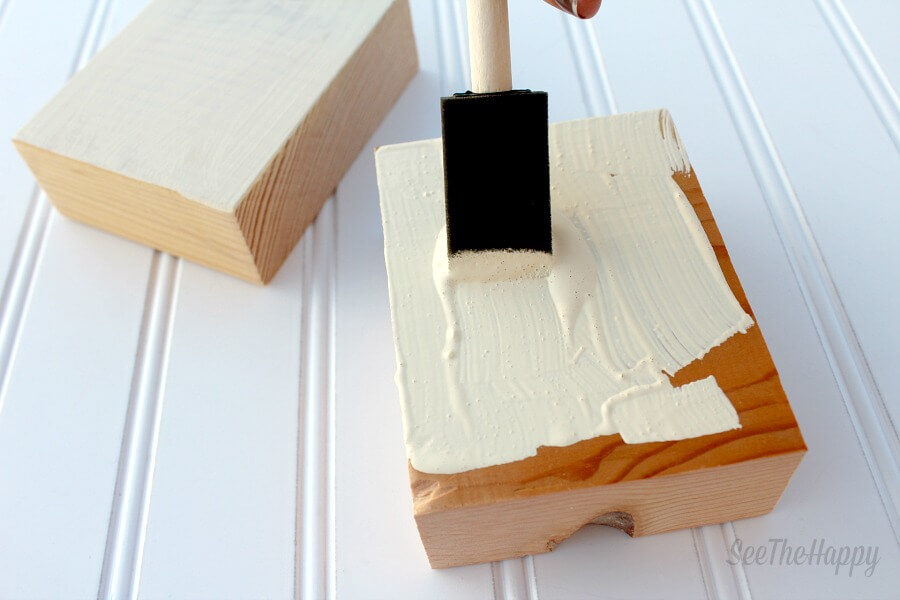
Step 3
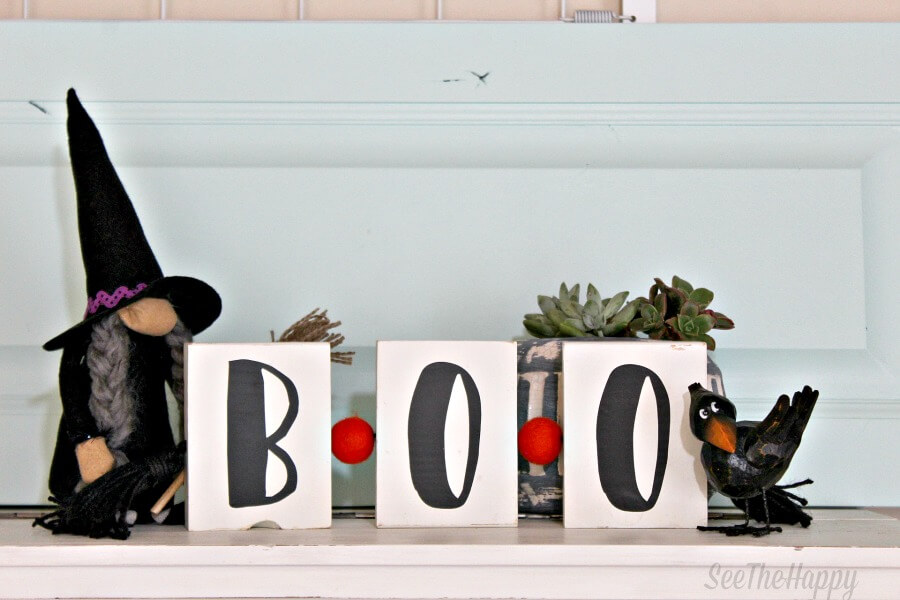
While your last coat is drying. Hop on to Cricut Design Space or even your old original Cricut (yes I still have mine) and choose your font for the word BOO. I decided on the happy camper font.
Cut your letters and place them on each block.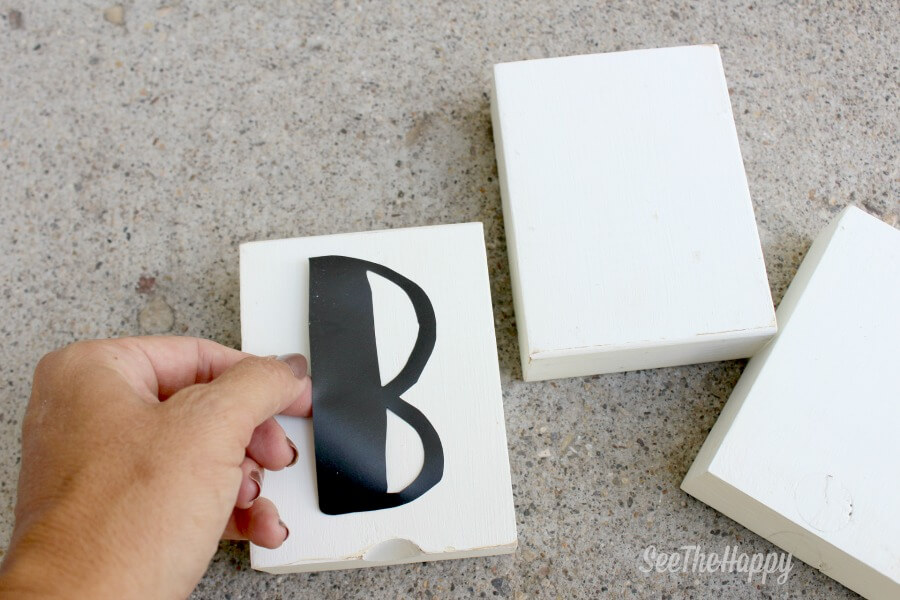
Step 4
Drill holes going through each side of the block. My drill bit wasn’t long enough to go all the way through so I drilled from the other side as well.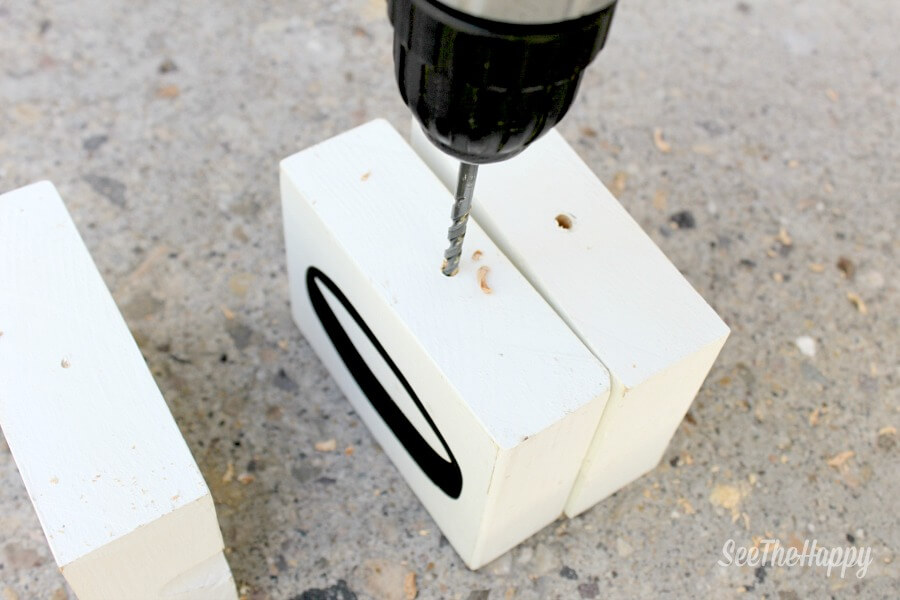
Step 5
String your twine through leaving a about 4″ on each side. Be sure to string a felt ball between each block as you go. My twine is pretty thick, the package doesn’t say, so I can’t share that with you. But it was fairly easy to thread the twine through the wood blocks. I did use a long skinny wire to help one through though, it kept getting caught on the splinters left inside the hole. 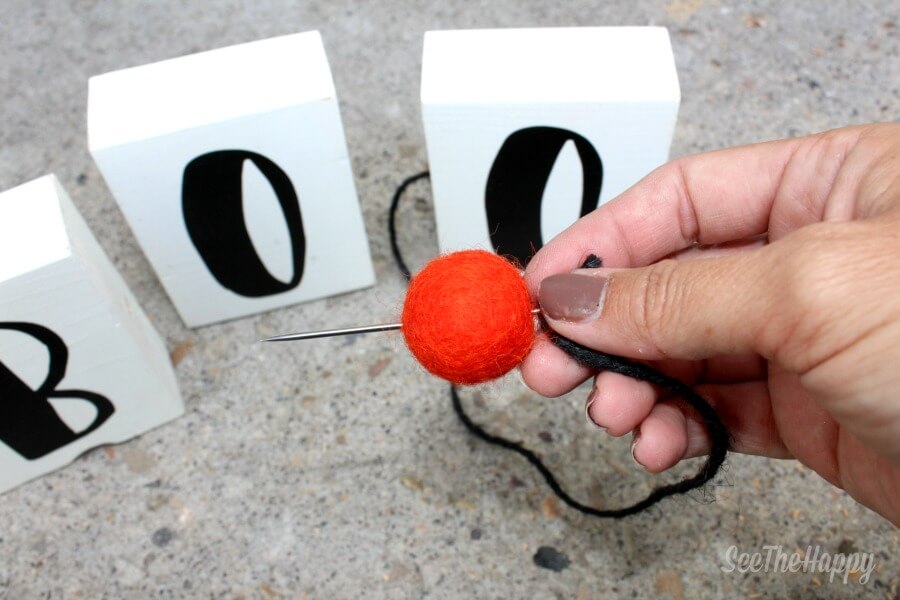 Because of the thickness of my twine, I struggled getting it through my felt balls. What I finally did to get it through was that with a small drill bit, I drilled through the middle of the ball. I know this sounds idiotic, and really it is. Felt came on onto my drill bit, it came off easy enough though. But that is what helped me get my fat twine through the felt ball. If you try this and have a better idea, I would love to hear it.
Step 6
Make your tassel or just tie knots. If you would rather not tackle the tassel just tie a double knot at the end of your twine, as close as you can get it to the wood block. OR to make a tassel, wrap your twine around something that will give you the length you want. I wrapped mine around my hand 15 times, don’t cut it off just yet. 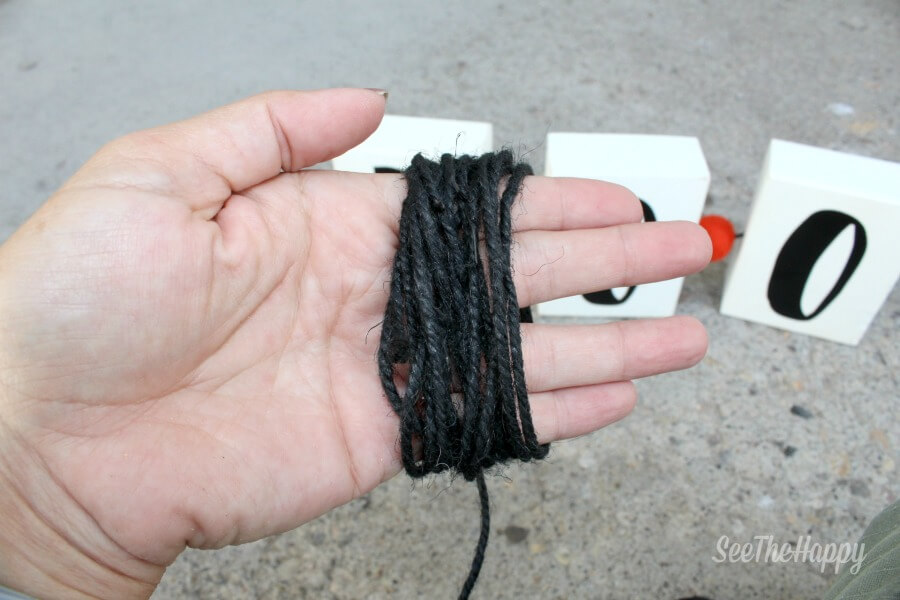
With the extra twine at the end of the block, tie it through the loop of the twine you just wound around your hand (or whatever you chose) and tie a double knot as close to the block as you can.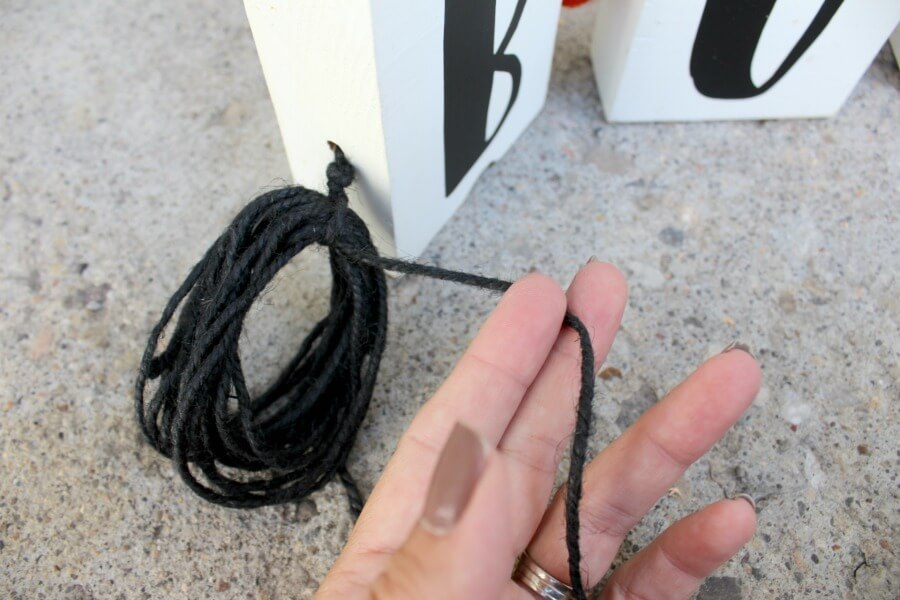
Now that you have that attached, take the end of twine you didn’t cut and wrap it tightly around the top of the tassel, about 4 times. Hot glue in place and cut the rest of the twine away. Do again on the other side and you are DONE!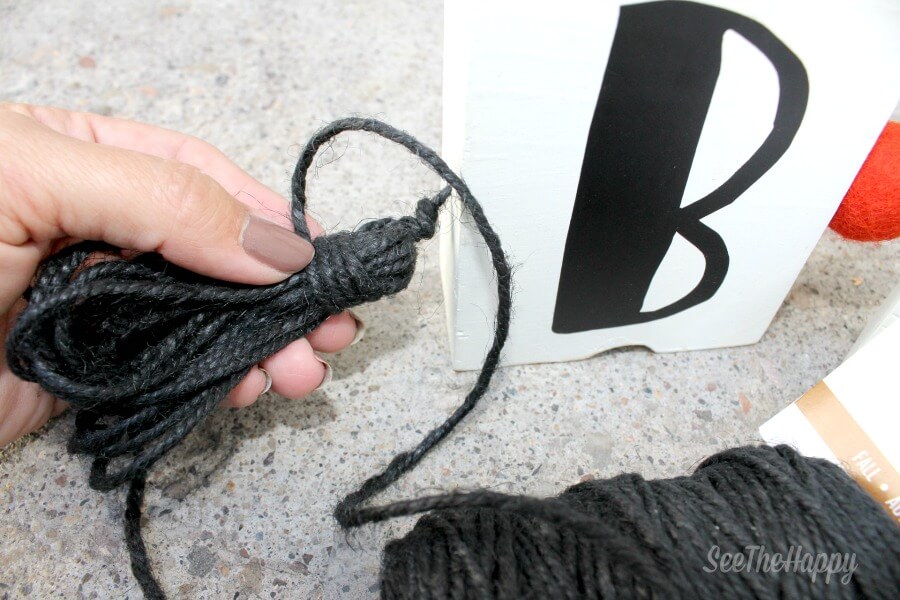
I LOVE how this turned out and may just make another one that says “EEK”. It truly brings me joy to make my own decorations for my home, making it unique. I hope this brings you joy as well. HAPPY FALL!!


Check out how these other bloggers used up their stash. Then join us next month for the theme wood.

Those are sooo cute! I love that you connected them and the cute tassels on the sides! Love it!
Ummm . . . I’m super jealous of how organized your craft stash is!!!! I’ve never thought to string wood blocks together – this turned out so cute!
What a darling sign! I love the way you used the wool balls with the blocks. So dang cute!