
Yay for summer break!
This week is the second week of summer break for my kids. It’s nice to have a change of the day-to-day school life. No more homework, early mornings, carpools… I’m always excited for a little more freedom that summer brings. BUT it also brings, “I’m bored!” I have to put a little more effort into keeping the kids busy. I try really hard to do something for my kids each day, even if it’s just organizing play dates.
I love that the library has a summer reading program and it’s kind of fun as they have transitioned into not just focusing on reading, but being creative and connecting with others. Each day the kids can mark off up to 5 things: Read, create, learn, play, and connect. My kids do really well with check lists, so they are really enjoying this reading program.
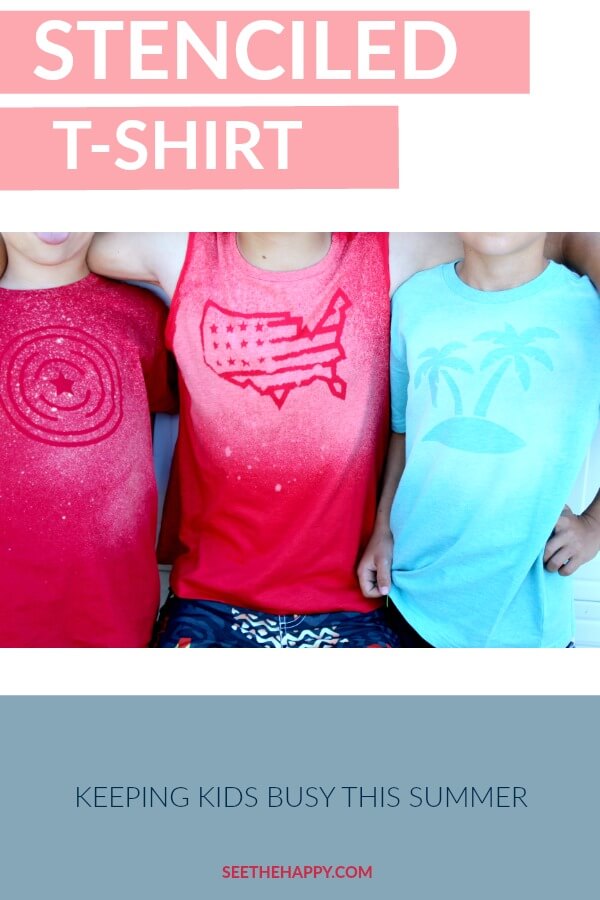
With it being summer break and the kids thriving on keeping busy, they love to be a part of my Inspire My Creativity blog posts. This month the theme is “stencils” so we decided to make some fun summer shirts. You may want to read through the whole post before you start your own. We learned lots of valuable lessons while doing this project. My boys could fill in a shape for create OR learn on their summer reading, as we learned a few wrong ways make our shirts.
What you’ll need: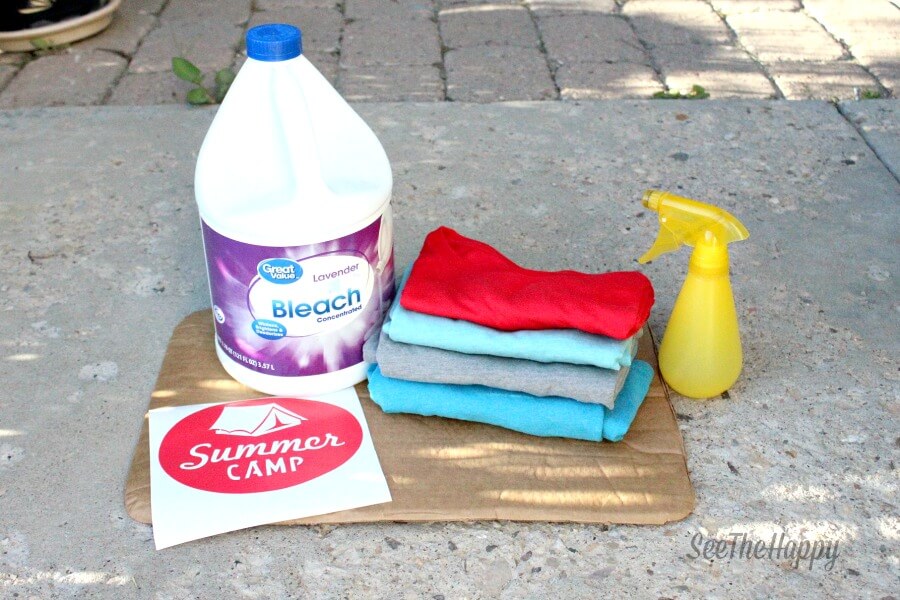
- Solid t-shirts, old or new (darker colors work best like red and blue)
- Spray bottle- set on mist, not stream
- Liquid bleach- do NOT use low splash
- Vynil stencils, I cut mine on my cricut. If you don’t have access to a cricut you can order custom ninyl on Etsy . OR make one the old fashioned way like they did HERE.
- Piece of cardboard that fits inside the shirt. ( this is so the bleach doesn’t bleed to the back side)
Step 1
Choose your vynil design whether you use the cricut, buy a custom one from etsy, or create your own .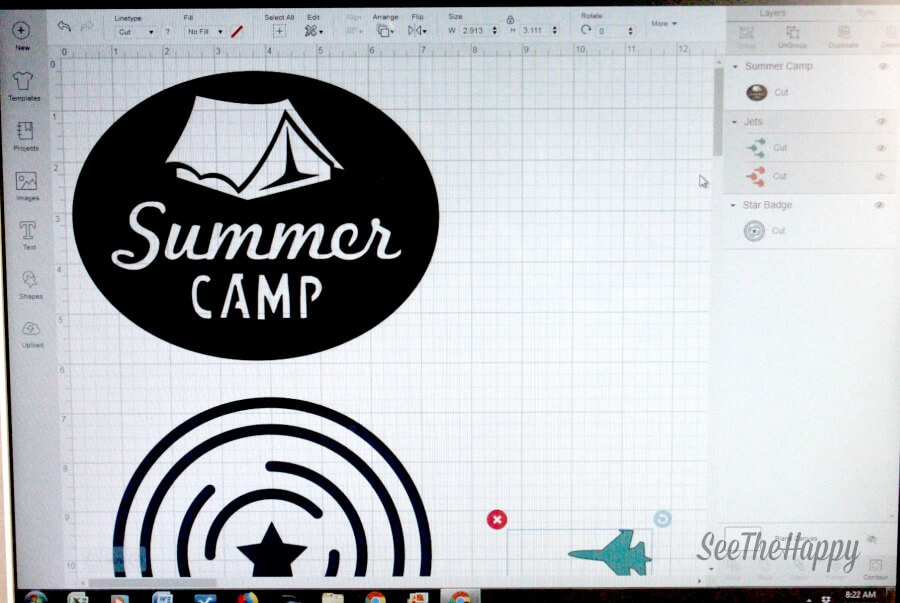 I let each of my boys choose something from Cricut Design Space. Each one only 99 cents. Your design should be at least 6″ wide (for sizes 4-7). Some of ours were up to 10″ wide (sizes 8-14) . You may want to measure your shirt before choosing the width of the design. Cut and weed your design, being aware of what part you want bleached. **TIP-If you are cutting your own, use real vynil or a heavy contact paper. I tried using the cheap clear contact paper from the dollar store on a couple of our shirts and the bleach got underneath so our design wasn’t crisp.
Step 2
Center your design about 2″-3″ from the neckline on your shirt. Be sure you press it down well on to the fabric. you don’t want any bleach getting under.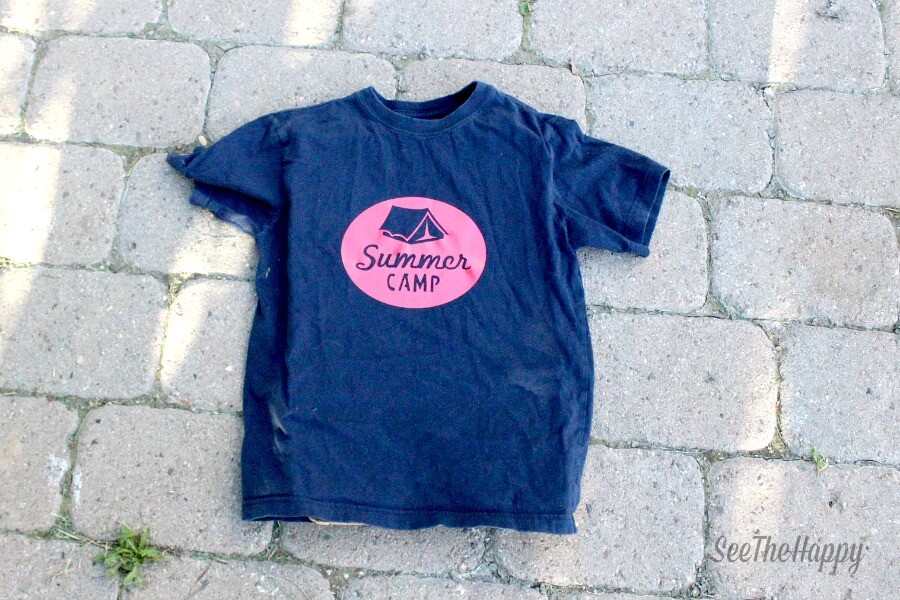
Step 3
Place the cardboard piece inside the shirt to prevent the bleach from bleeding through to the back. Find a good spot to spray the shirt, where the bleach won’t get on things you don’t want it to.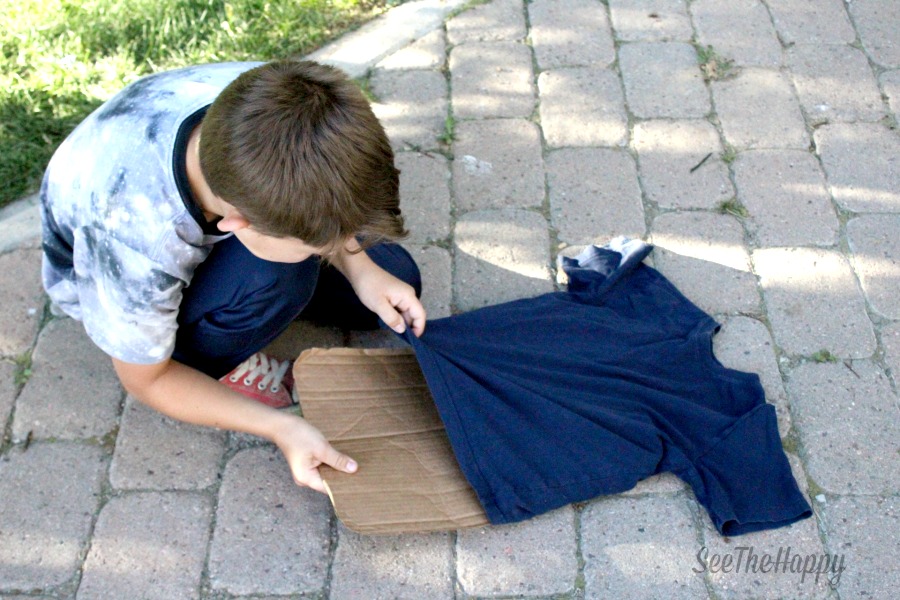
Step 4
Set your squirt bottle on the mist setting. Holding the squirt bottle about 12″ away from the shirt, spray 3 squirts over the center of your design. Wait a minute to see where the bleach changes the color of the shirt. Once the change begins, if you see a spot that needs more, give another squirt. 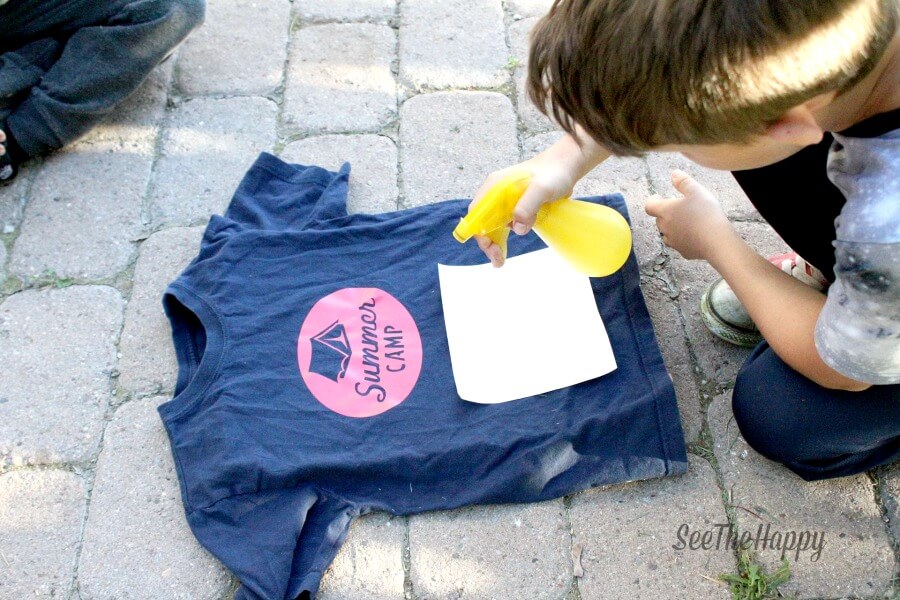
BE SURE NOT TO OVER SQUIRT. You just need a light spray. See spoofs below to find out why.
Step 5
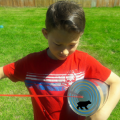
Allow to dry about 30 minutes. Peel the vinyl away and wash the shirts to get the stinky bleach smell out. Enjoy your very own unique summer t-shirt. My boys were so proud of the shirts they made.

The palm tree shirt for my youngest isn’t bleached. The shirts I bought for him are lighter colors and the bleach did absolutely nothing to them. So we opted to spray paint it (he really wanted a shirt). Below are other issues we ran into.
SPOOFS
On this shirt we learned that if you don’t want the square look, don’t fold the sides of the shirt behind the cardboard. It makes more distinct lines where the bleach is sprayed. Also, I used the cheap, clear,dollar store contact paper on this one and the bleach seeped under it. It could be because we sprayed it too heavily as well.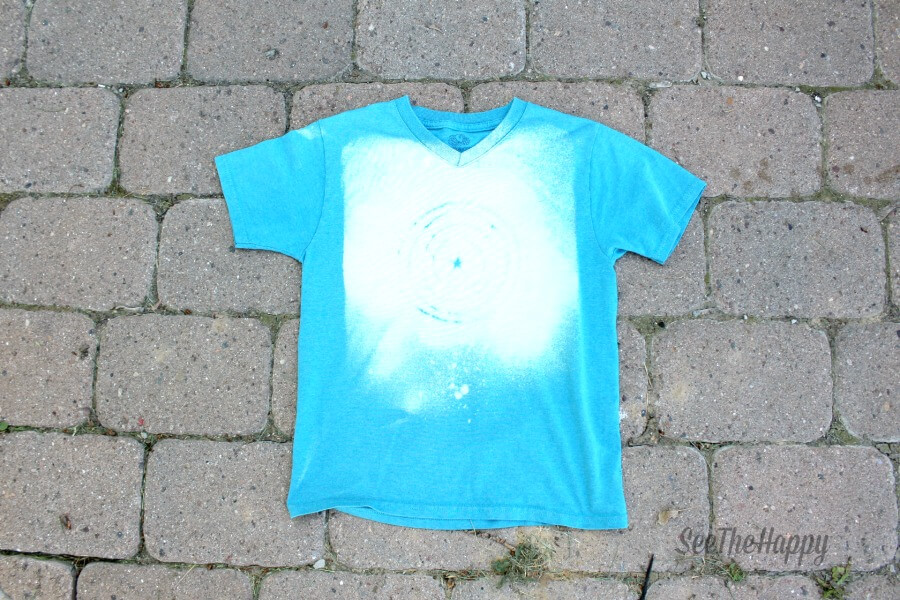
This shirt was too light and the bleach did nothing to it. Maybe it doesn’t have dye in the fabric or something. Whatever it is, it’s not affected by bleach so we spray painted it. The lines are very crisp.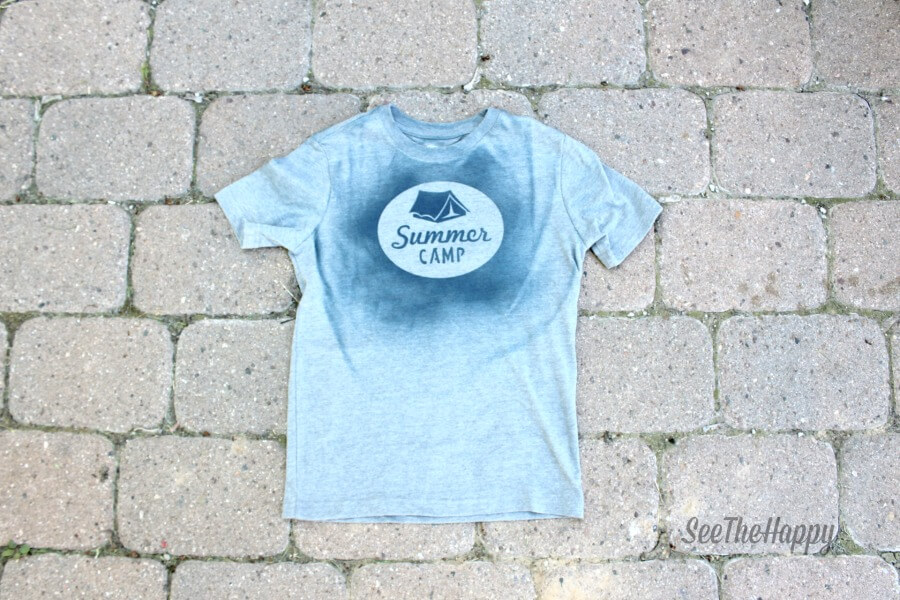
This was our first mistake. I used low splash bleach which is a little more thick, slightly gel like. It dripped big drips while being sprayed and was too thick. The picture was ruined because we sprayed too much and used our finger to spread the thick bleach. I think it was just too wet and started spreading which ruined the picture.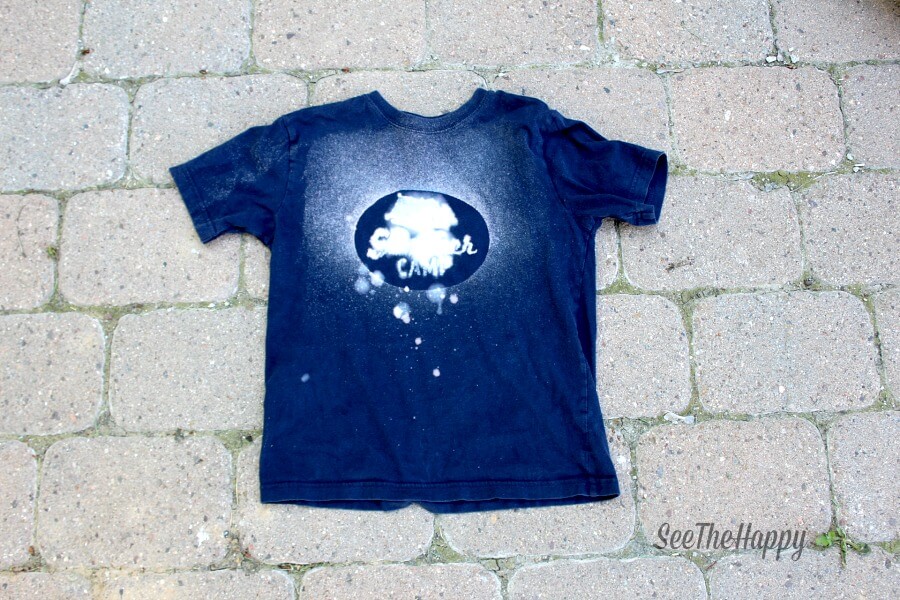
HAPPY SUMMER!!

See more fun stencil crafts from the bloggers below. AND join us next month for the theme STARS

We love making bleach t-shirts at our house! I love the designs you used – perfect for Summer! They turned out so cute.
These are so cute! I think I need to make some of these with my kids! I especially like the USA one!
These shirts are so fun and perfect for summer! I love how quick and easy they are to make!