

I recently made THIS box from Shanty 2 Chic for a friend and decided that I want one for my table too but since my table is square, it would be too big. So I decided to make a smaller one that would not take over my whole table. The fun thing with these boxes is that you can fill it with different things throughout the year to go along with the seasons and holidays.
I will share how I did mine as it is slightly different from theirs. The items you need are:
- Woodpile bundle (found at Hobby Lobby-don’t forget to use a coupon)
- 2×2 furring strip cut at 5 1/2″
- finishing nails
- ply wood
- 2 handles of your choice
TANGENT: I have something to say about the woodpile bundle. On the first box I made for my friend I bought one wood bundle and came home to start it when I found out that the bundle I got had two different widths in it. I had to get a second bundle because I couldn’t use half of the wood in the bundle. Then, come to find out, I needed a third bundle as I thought they had only used one bundle for their box on Shanty 2 Chic but it does take two bundles for that bigger box. The smaller box only takes one. Just be sure to check your bundles that they are all the same width.

First cut 6 woodpile pieces at 9 1/8″ and 6 at 14″ (haha looks like I’m missing one of my 14″ers in the picture) and then the 2x2s cut 4 at about 5 1/4″. I used a miter saw but you can also use a hand saw as well.

Then lay 3 short pieces onto 2- 2×2’s making sure that the sides are flush
AND that the bottom edge of the 2×2 is flush with the lip at the bottom of the woodpile piece. It will not be the same on the top, there should be an inch or so space on top. I wanted it to be lower so it wouldn’t be seen on the top of the box.
When you have those in place nail each wood piece to the 2x2s. I used a nail gun but it can also be done with finishing nails and a hammer. Do it with the other set of 3 short wood pieces and 2-2x2s.
Then you will add the long wood pieces the same way. Make sure you have the tops of the short sides facing the same way. (As you can see in the picture, I wasn’t paying attention to that and I nailed one facing the wrong way, it is sure hard to get them apart after you nail them). Do this again to the other side to form the rectangle.

I apologize as these next few pictures aren’t the greatest. I had a few interruptions and it started to get dark and I was was rushing to get it done. At this point you need to measure the inside of the very bottom of the box.

You can even lay a corner of your piece of ply wood inside and mark where you need to cut. I used a jigsaw to cut mine which made it go really fast.
Lay it inside the bottom of the box and nail it to the 2x2s.

Now you screw the handles to the sides and you are done. Then for the FUN part!! Fill it with fun holiday decor.
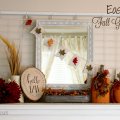
Here is mine for fall
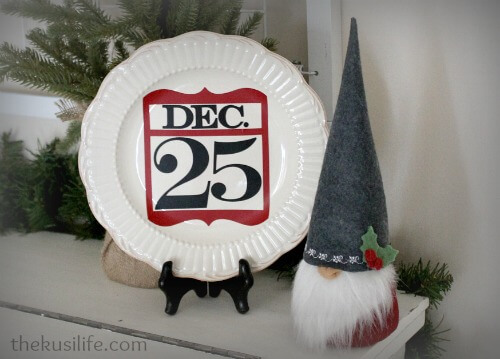
Then here are a few ideas for Christmas.

If you make one and fill it, I would love to see them. Please share your picture in the comments.
ENJOY, and See the Happy!

I love this! It looks so good and would be perfect for the holidays! I’m so glad you have step by step pics because I’m not the best at crafts!
Thank you Becky. If I can do it then I’m sure you can do it!
I love this!! I’m totally pinning it for later! Maybe I’ll be able to get my Christmas crafting on! 🙂
Thank you Paula. I hope you can get that Christmas craft on, then it can be a New Years, Valentine, Easter… crafty decor too!!
I LOVE this, I need one for my table! And this looks perfect for my narrow dining table. Awesome!
Thank you Becky. It is really easy to adjust the measurements for whatever table size you need. Have Fun!!
Cool box!
Thanks Scotty!!
I didn’t even know Hobby Lobby sold wood in bundles like this. Learn something new every day. My husband would have a ball with a project like this. He loves nothing better than to hammer and saw and get sawdust everywhere.
Yes! The wood bundles are great! So much fun to work with.
What a great idea to make a project with those wood bundles. And thanks for the tip of checking the widths!