
 Scrunchies are back!!
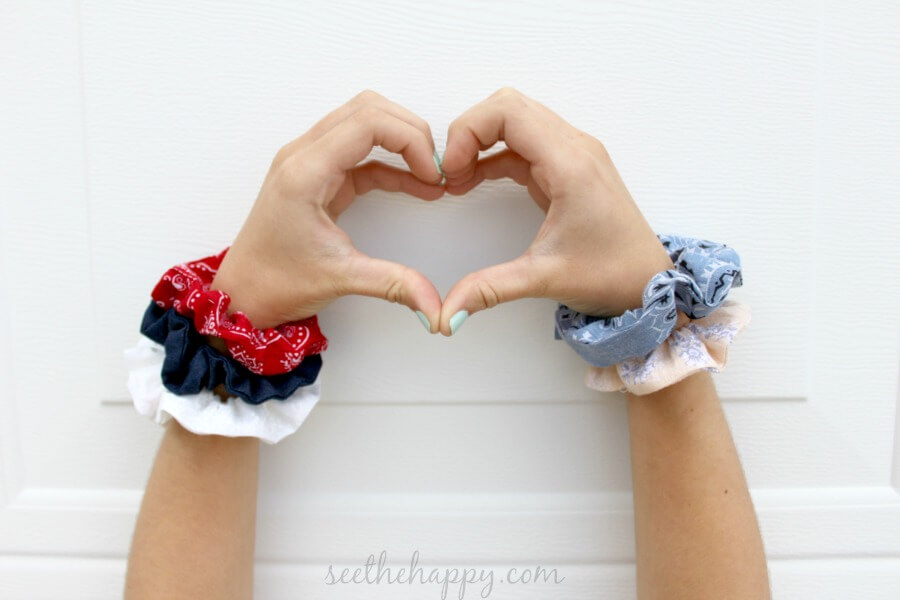
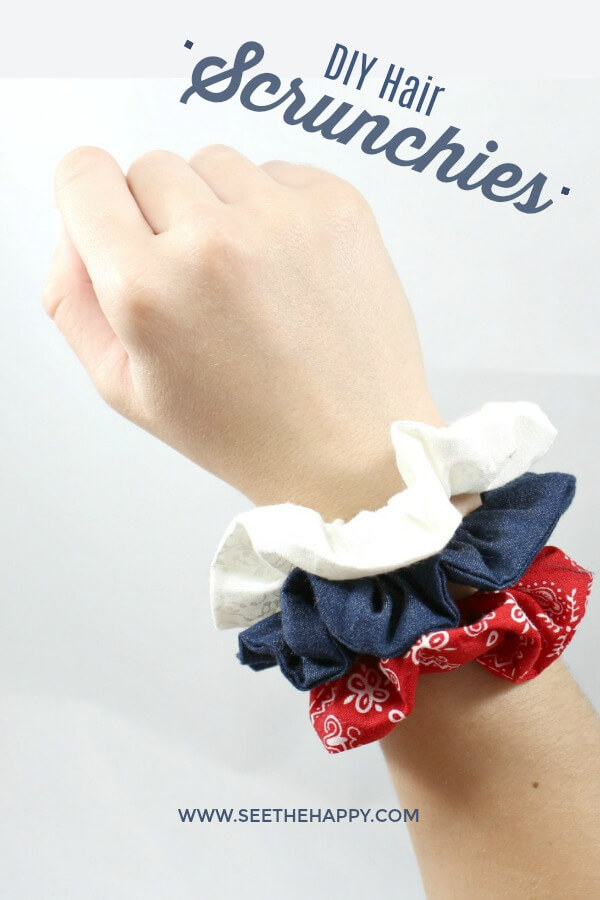
Being the mother of teens, I am kept up to date on the latest trends. Many of them coming back from my childhood and teenage years. Overalls, leggings, acid washed jeans, jumpsuits, and SCRUNCHIES! I always wore scrunchies as a teen. My daughter says she sees scrunchies worn as a bracelet as well as in your hair, so having lots is really fun.
**This post contains affiliate links. This means if you make a purchase through my links, I’ll receive a small portion of your purchase at no extra cost to you.
As we have shopped for scrunchies, we can’t always find the colors we want. So of course we decided to make a few of our own. And as part of the Inspire My Creativity theme this month, “something to wear”, I’m going to share a tutorial with you. This is also a great way to use up those fabric scraps, cause it doesn’t take much ( they just have to be long scraps)
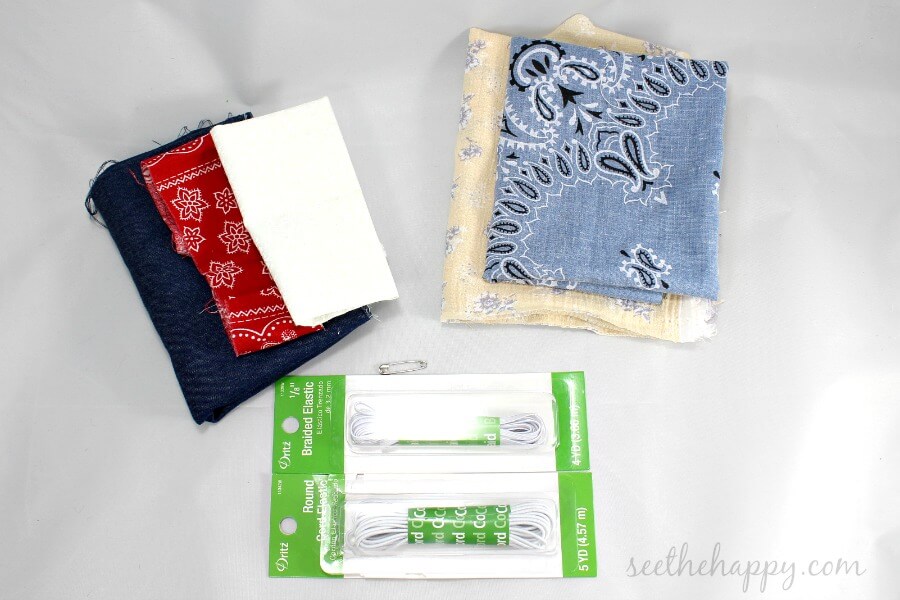
Items Needed:
- 1/8 yard Any light weight fabric Fabric. When using scraps you’ll need at least 3 1/4″ x 18″
- Elastic- 1/8″ braided elastic or round cord elastic.
- Safety pin
- sewing machine
- Scissors or rotary cutter with mat
- Loop turning tool-optional
Step 1
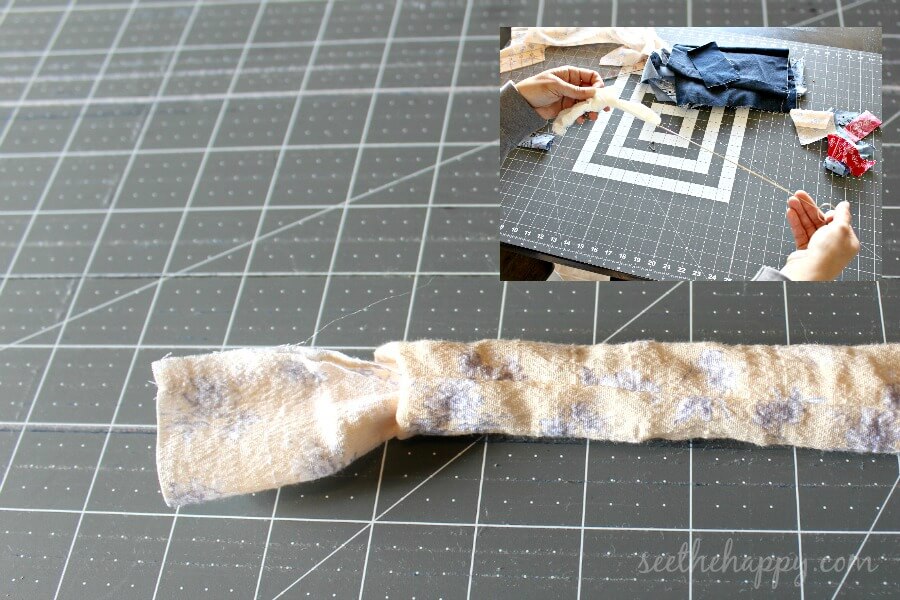
Cut your fabric piece to 3 1/4″ x 18″ (20″ if you want it really scrunched).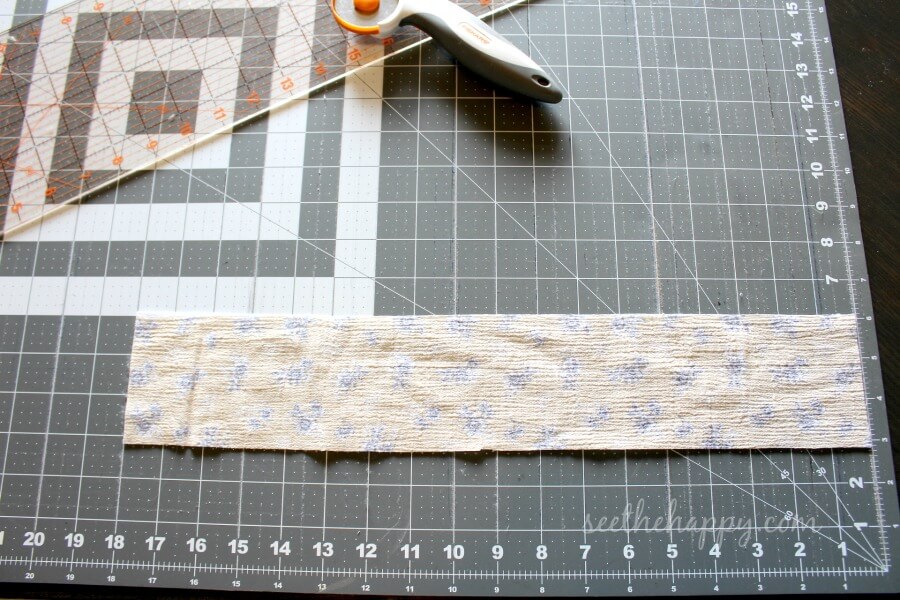
Step 2
With right sides together, stitch the length leaving both small ends open.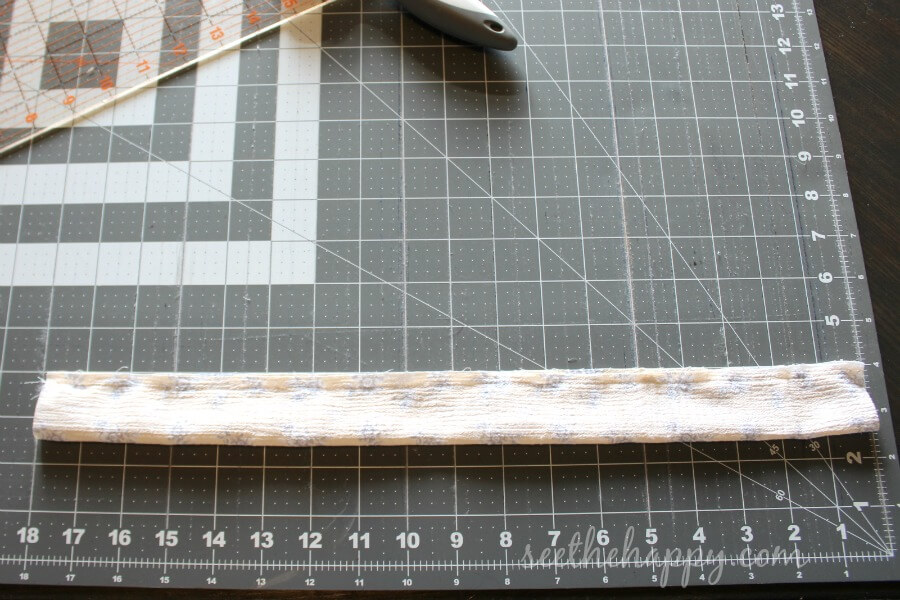
Step 3
Turn the fabric right side out. THIS loop turning tool makes it easier but it can be done without it.
Step 4
Cut a piece of elastic 6 1/2″-7″ long. I have pretty thin hair so 6 1/2″ is good for me. Use 7″ for thicker hair. Attach the safety pin to the elastic and feed through the tube of fabric. 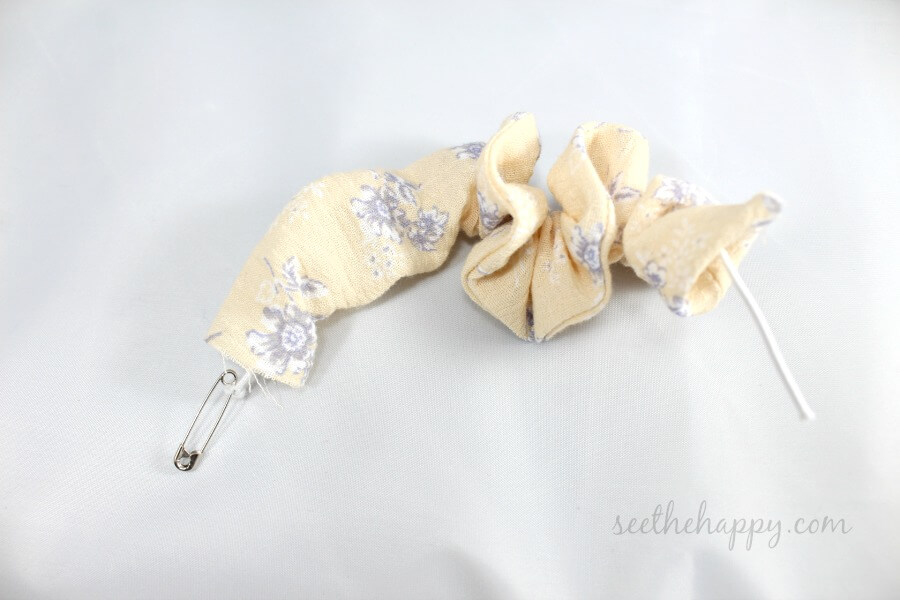 If you’re using 1/8″ braided elastic, Place one end on top of the other and stitch the ends together with a 0 length zigzag stitch or by hand. OR if you are using the round cord elastic, tie the ends in a square knot(right over left, left over right), tightening it close to the ends . Be sure it’s secure before moving to the next step.
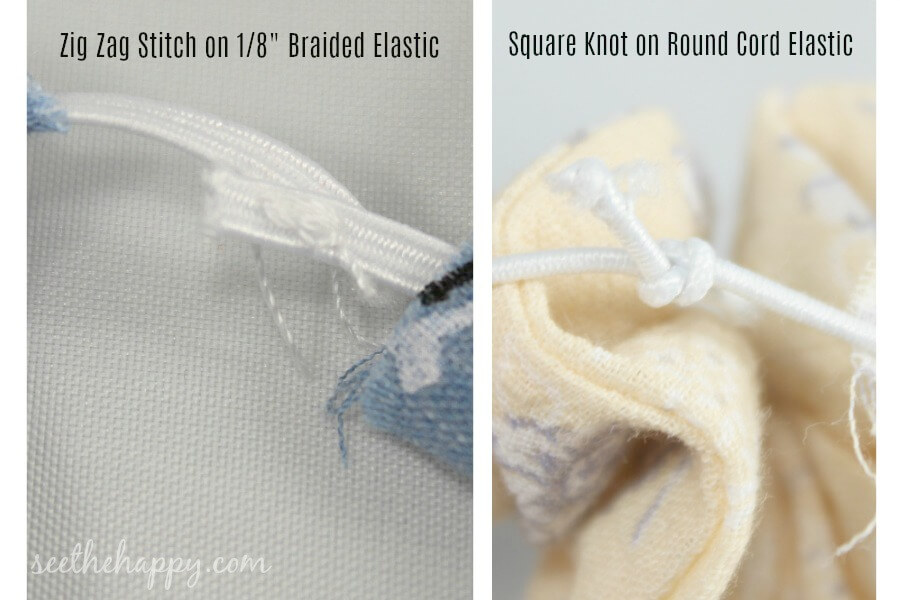
Step 5
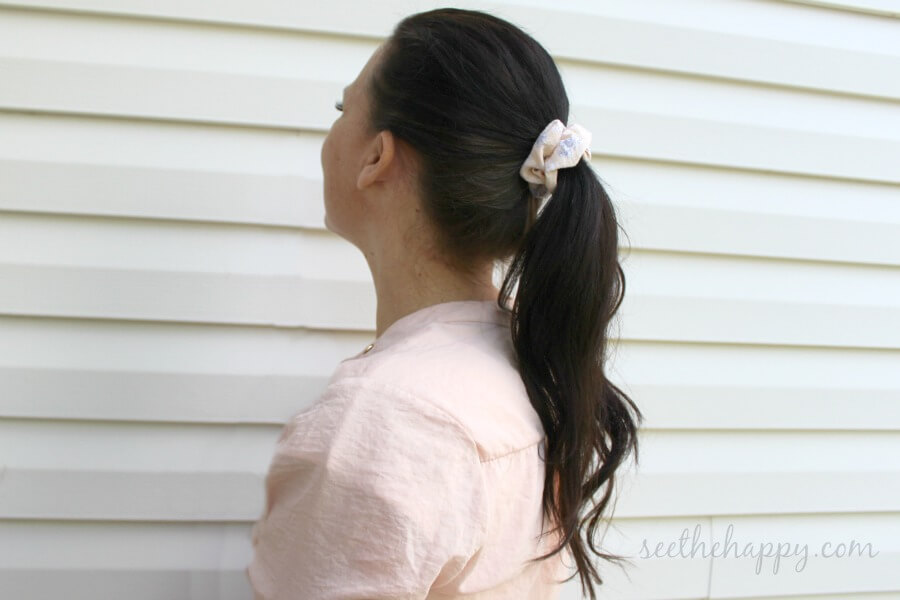
Feed one end of fabric in to the other about 1/8″ and fold the outside layer in creating a finished edge. Machine or hand stitch this closed. And wallah! you’re done. Fast and easy accessory.

For more tutorials on “things to wear” check out these other blogs.
Join us next month for the theme “stencils”


Ok, this seems simple enough that maybe I can even do it! I’m not sure though! 🙂 Thanks for the tutorial and great idea!
Oh, boy. This one really takes me back! My sisters and I used to sit around and make scrunchies out of my grandma’s scrap fabric every time we went to visit her. So fun!
Funny to see two scrunchie projects in this month’s challenge! Love your patriotic colors – I have really been feeling inspired by red, white and blue lately.
I love the fabrics you used for these darling scrunchies! It makes me want to make some for my daughter.