
I am in love with buffalo check!
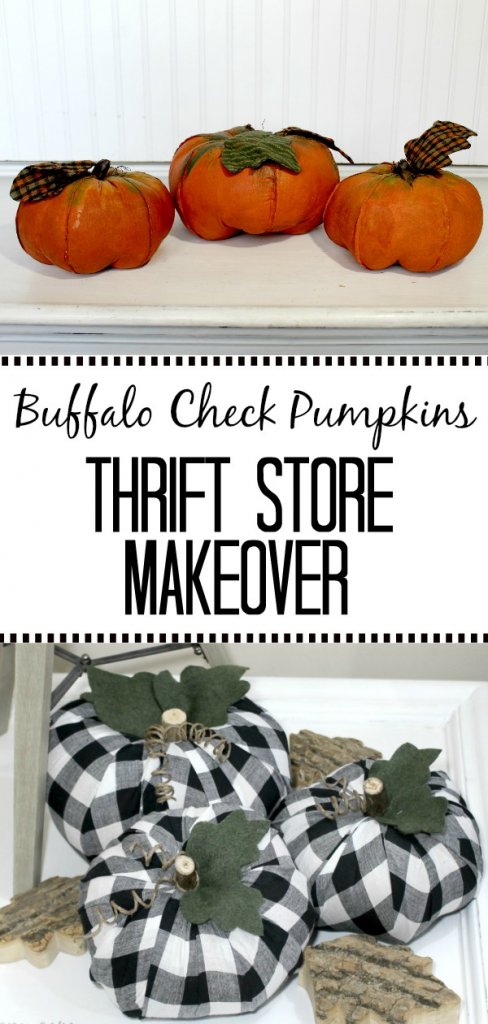
When I saw these pumpkins at the thrift store, I knew I could update them with some buffalo check and turn them into something I’ve been looking for.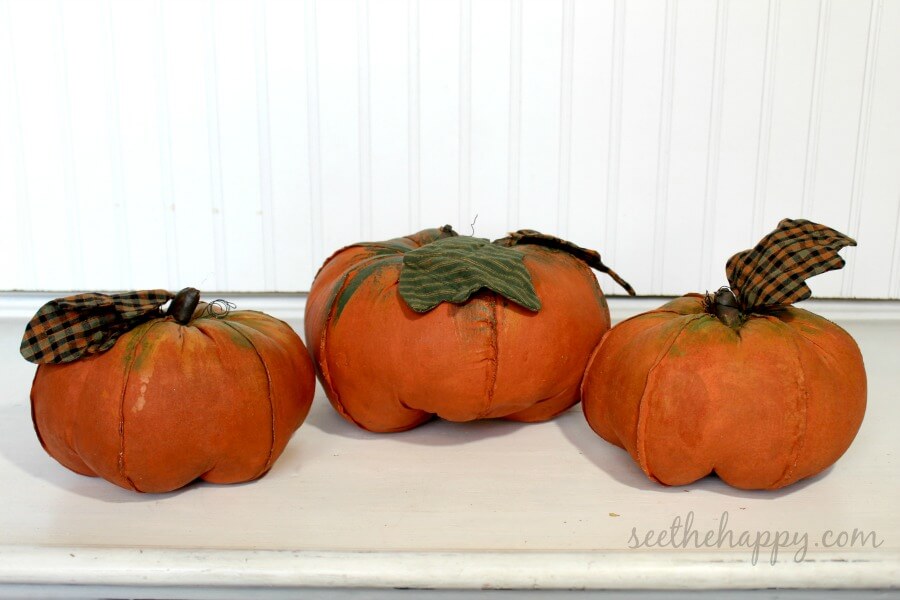
This month for the Inspire My Creativity link up the theme is Thrift Store Makeover and makeovers are one of my favorite things. Why get rid of something when you can update it just by changing the colors?
Items needed: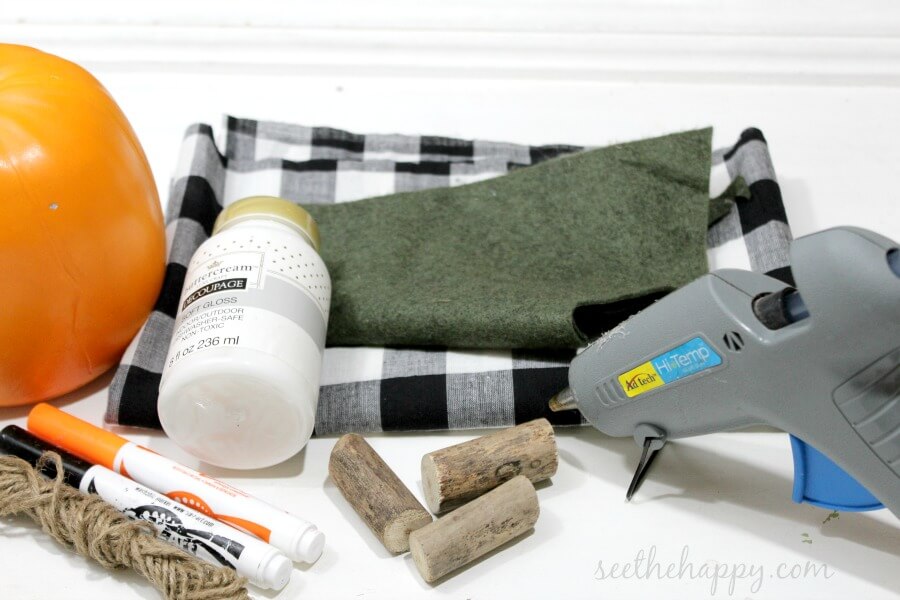
- Fabric of your choice
- Felt or fabric leaves
- Wood log sticks- about 2″ long
- Jute string
- 1 or 2 markers
- decoupage or Elmer’s glue
- glue gun
- scissors
- Your old decor pumpkins
Here’s how I made mine over:
You may or may not need to adjust these steps as needed, depending on what kind of pumpkin you are updating. These pumpkins are fabric ones that were painted, so they are kind of stiff and hard. First I took off the stem and the leaves. I just cut off the stem, opening up a small hole in the top of the pumpkin exposing the stuffed center. 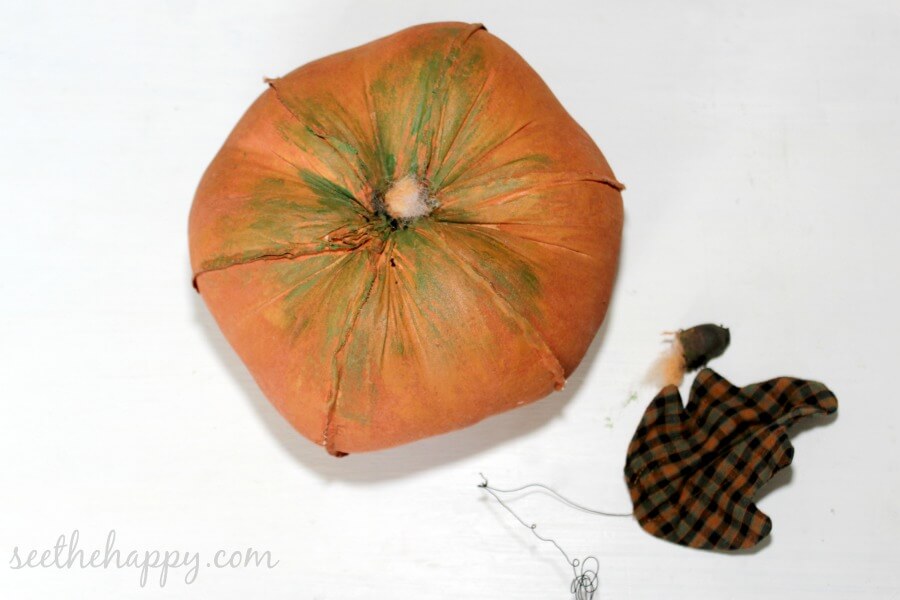
Then I sat the pumpkin on the fabric I chose and pulled up one edge of the fabric so that it came to the opening. I pulled the other side tight around the pumpkin and marked where that side met the hole and I cut along that mark. 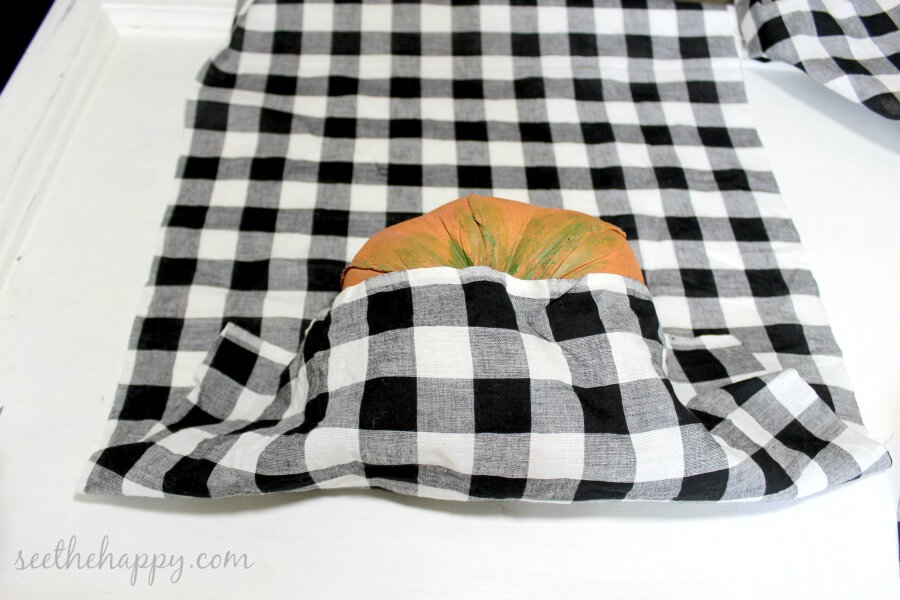
Then I folded it over diagonally so that I could see where to cut to make a square. Once I had my square, with the pumpkin in the center, I began to bring all the edges up to the middle, neatly overlapping the fabric where needed and pushing the fabric into the hole…with my keys. I’m sure you can use the handle of a fork or something, my keys just happened to be close by.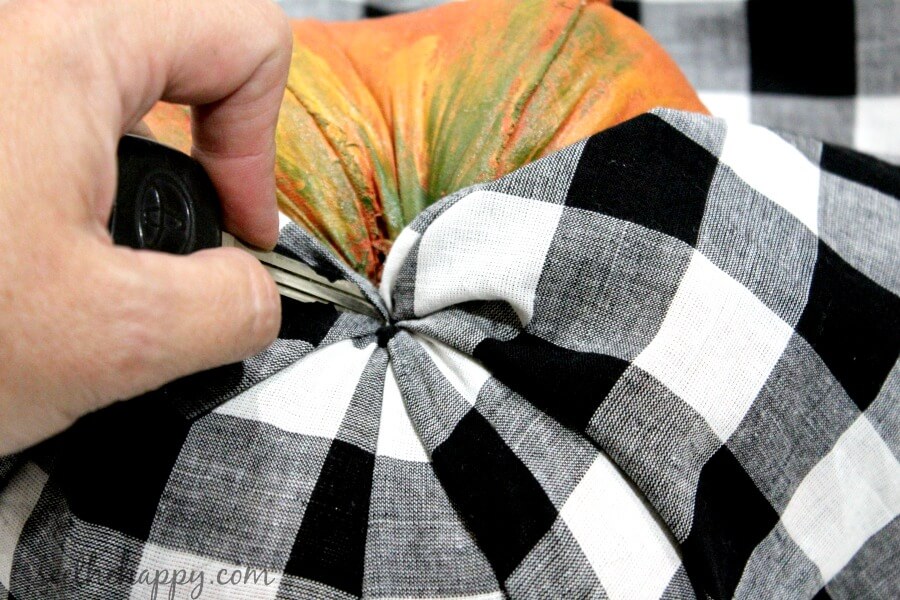
Once I had all my fabric tightly wrapped around the whole pumpkin and tucked into the center, I stuffed one of the wood log sticks in, which tightly secured it all. You can hot glue it in if you like, mine are quite tight just pushing them in.
Take about 18″ or so of your jute string and, using your fingers, massage some decoupage along the whole piece of string and wrap around the markers.  Wrapping around 1 marker will do a small pumpkin, for the bigger pumpkin I wrapped it around two. Let that dry about 20-30 min. You can speed up the process by blow drying or putting it in a WARM oven (I had finished cooking something and my oven had mostly cooled off, I put it in when it was only warm- not on).
While those dry, cut out some leaves from the felt, 2 per pumpkin. I just cut a general leaf shape, no pattern needed. Then when the string is dry, hot glue the curly string and leaves to your pumpkin. 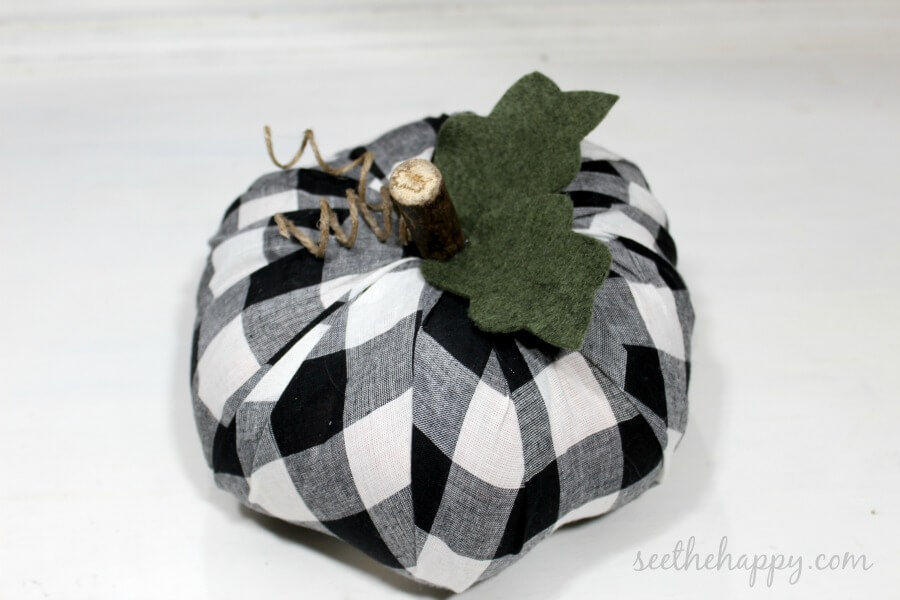
AND YOU’RE FINISHED! I love this update and I hope this helps you update your old pumpkins as well. HAPPY FALL! Check out more thrift store makeovers below.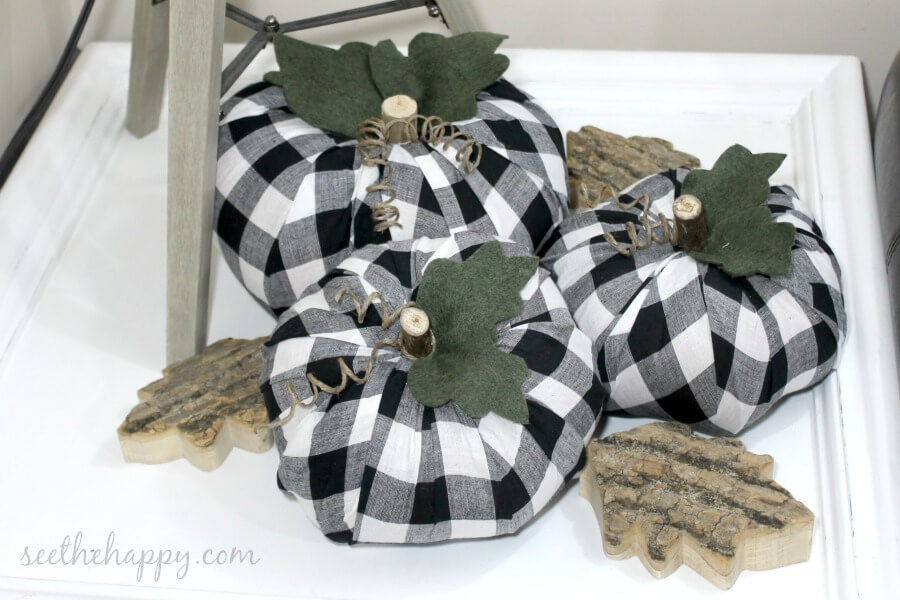
SEE THE HAPPY!


I absolutely LOVE the buffalo plaid makeover! Great job Meg, I would love to have these in my house!
Thank you Steph!
You did such a great job with those pumpkins! They looked so sad before and you made them beautiful!
Thank you Heather!!
I absolutely love these!! Buffalo plaid lover here too! The twine hack is so cool too, thanks for sharing!
Thank you!! I loved your tray as well. Our projects could totally go in the same room.
Those little string curls are just too cute! Great technique. I loved that you used your key, too, lol. These turned out a million times better than the originals.
Thank you Marie!! It took a few fails to figure out how to gets those curls to stay. Now I will be using this technique a lot more. As for the key, LOL, I am the type of crafter that does with what’s near me so I don’t have to get up yet again. So lazy;)
These buffalo check pumpkins look amazing. I had no idea you could do that with the twine for the curls, it looks like a real vine.
Thanks Jenny! I so badly wanted to use the jute rather than ribbon. I tried things from trying to put wire in the center of it to baking it in the over around a wooden stick. I wasn’t sure the decoupage would work but it ended up being perfect, I’m so excited to use it in other projects.
Great makeover! So much cuter in the buffalo check. Visiting from Inspire My Creativity party.
Thank you Victoria!
I absolutely love how these turned out! Such a cute idea to add the buffalo check – it’s one of my favorite designs. I love the curly jute too!
Thank you Christine! It’s one of my favorite Quick decor items.
I LOVE buffalo check right now! These pumpkins are too cute!
Thank you Jaclyn! Buffalo check is my favorite right now.
How cute! Give me all of the buffalo check!!
Thank you Candice. I feel the same way about buffalo check, just love it!