
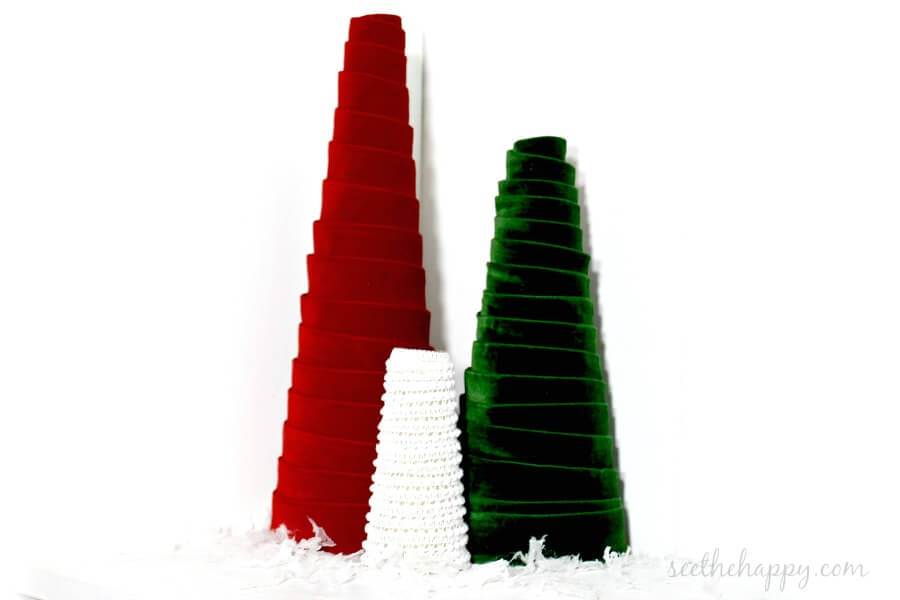
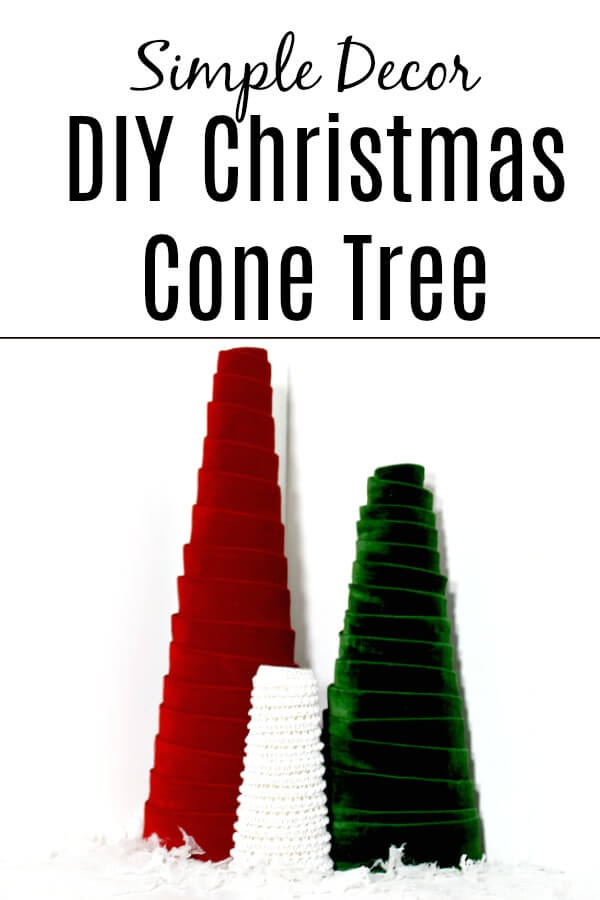
Simple Decor For a Crazy Time of Year
Do you ever have this amazing vision in your head of what you want your holidays to look like, Then life happens and bursts that beautiful bubble? Yeah, that’s me every year. For this reason (and the fact that I’m really cheap) I’m always on the look-out for simple decor DIYs. I think it’s fun to add something new to my holiday decor collection each year so as part of the Inspire My Creativity link up, this month’s theme being “RED”, I came up with this simple decor DIY, a long over due project. And why not add green and white as well, it’s Christmas time.
**This post contains affiliate links, which means if you click on a link and make any purchase, I will receive a small commission at no additional cost to you. Thanks for your support!**
I’ve had a few foam cones set aside to create with. I picked them up at a thrift store a while back and have been dying to make something with them. Also, I finished off a spool of cone thread, leaving me with a nice little cardboard cone to use as well. I figured they would be great to make some trees.
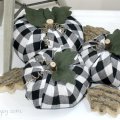
Check out these awesome trims I found at TJMaxx. I’m in love with the wooden spools they came on and just couldn’t pass them up. I think they will be perfect for this little craft. They are actually meant for gift wrapping but…

Items Needed: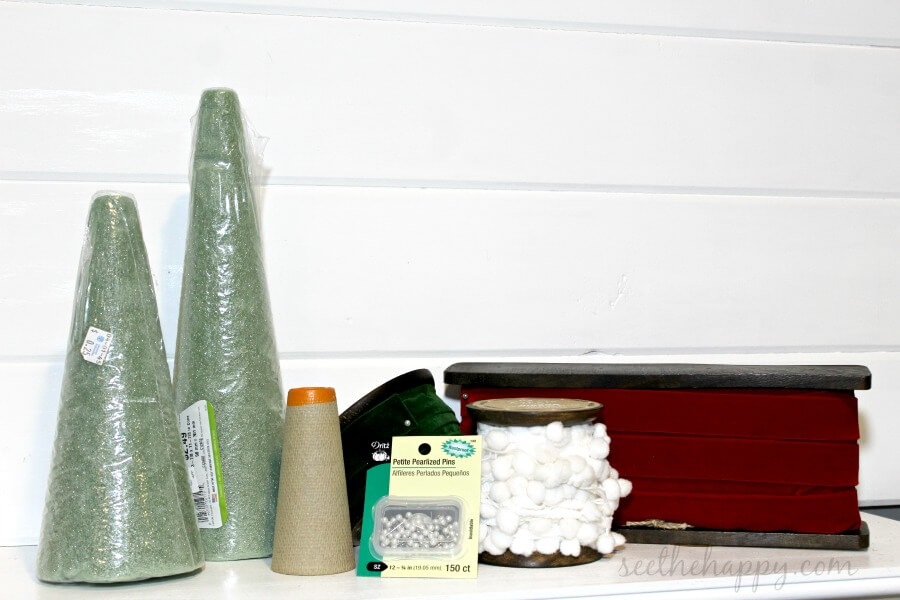
- foam or cardboard cones
- 1-3 yards of trim- it all depends on how big your cone is and how thin your trim is. For a thin trim you will need closer to 3 yards. You will have to determine this on your own.
- pins- petite pearlized pins 3/4 inch
- craft glue
How to:
This project is as simple as wrapping the trim around the cone. Overlapping as you go, so it’s completely covered. I did start off by covering the tip of the foam cones first, by gluing a piece to the top. I had to hold that piece in place for a few minutes until it completely attached.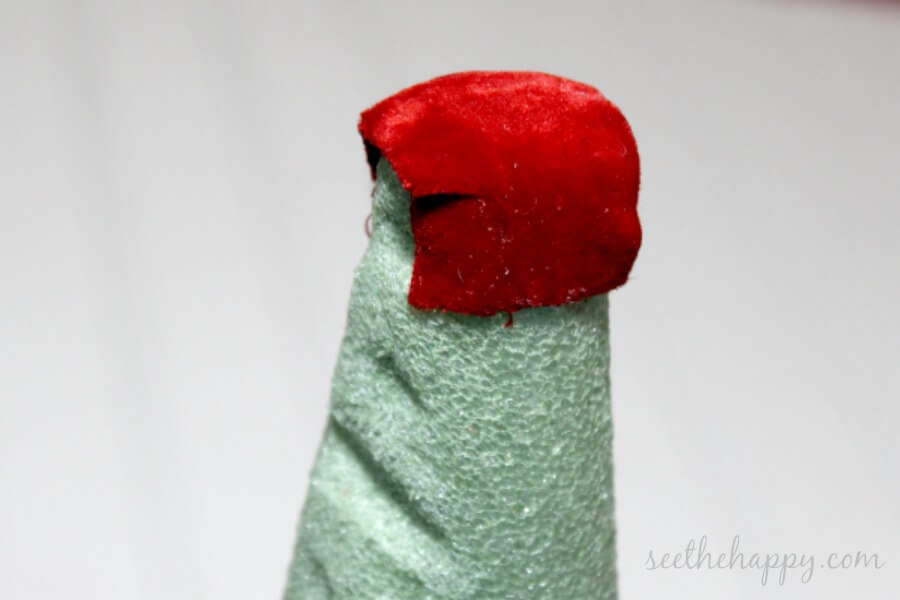
Fold over the end of the ribbon and pin to the cone. Then wrap, as tightly as you can, the ribbon around the cone overlapping as you go. Continue to wrap it around tightly till you get to the bottom. Now, because there was no give in this ribbon I chose, it does have parts that aren’t laying flat against the cone. I kindof like it though, gives it a little character. And if you know me, I like things with character.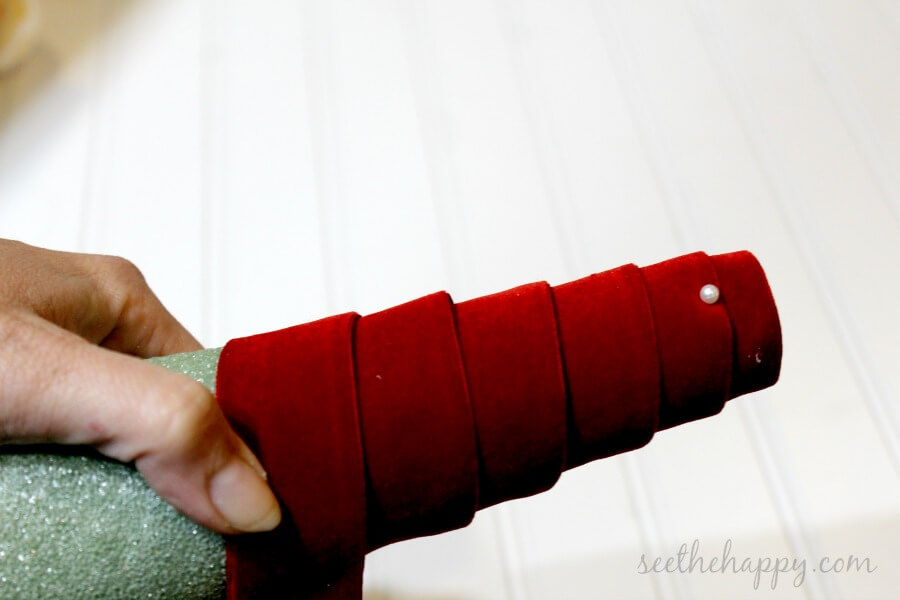
Once you wrap your ribbon all the way down to the bottom, cut your trim a little bit beyond where you want it and fold the end under. I used my pins to hold the end.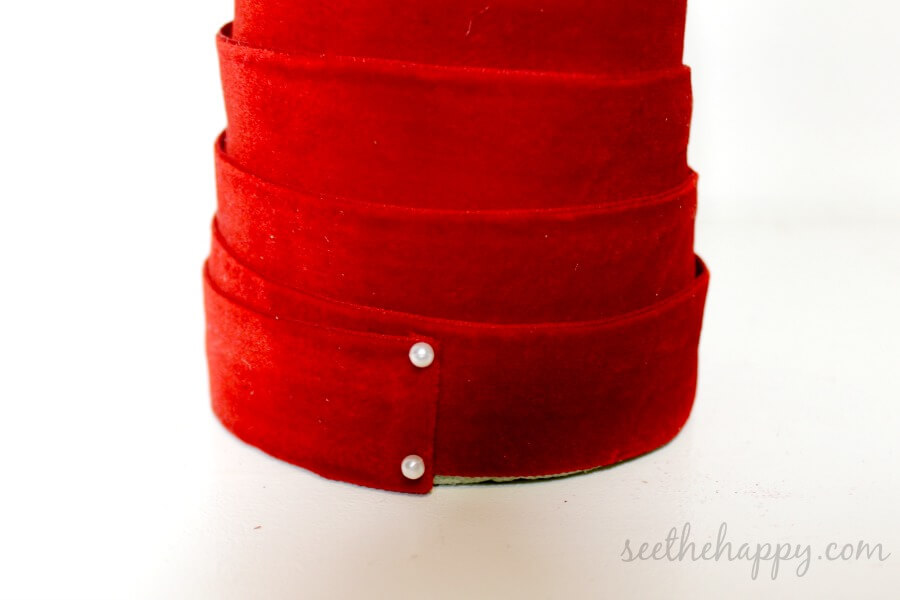
Now I was thinking, on the red cone, that I would put pins throughout it to decorate it. But I decided that I like them plain. So I only have the pins at the top and bottom, holding the trim ends.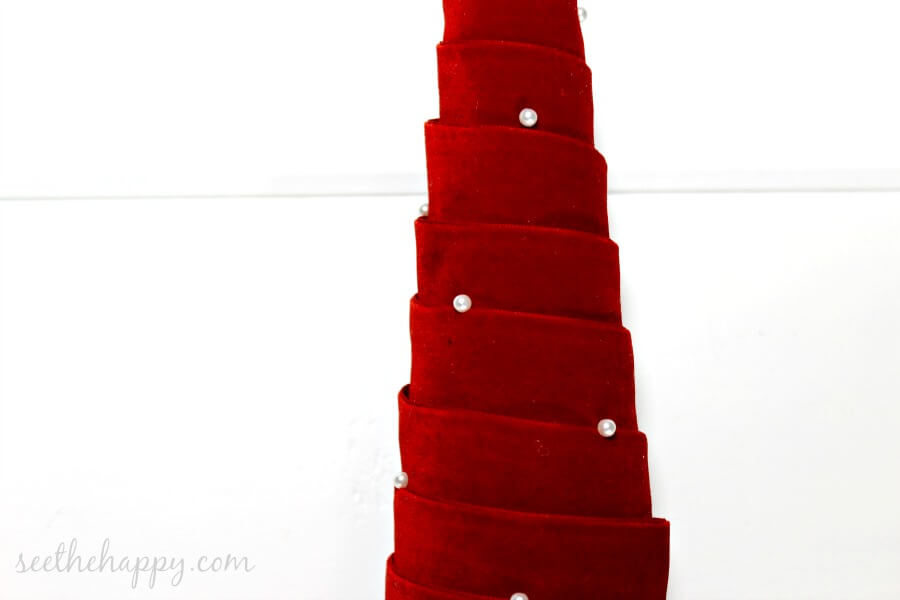
Tip
If you’re using a trim like my white one (I ended up going with a smaller pompom trim as the big one was spaced too far apart and ended up looking funny for this project), then you want to start at the bottom of the cone so that you can overlap it the right way. When I started at the top, I was overlapping onto the little pompoms. When I started at the bottom, I was able to overlap the top portion, leaving the pompoms looking as cute as they can be.
I hope you enjoy this simple decor DIY. Below are some more fun red themed crafts.
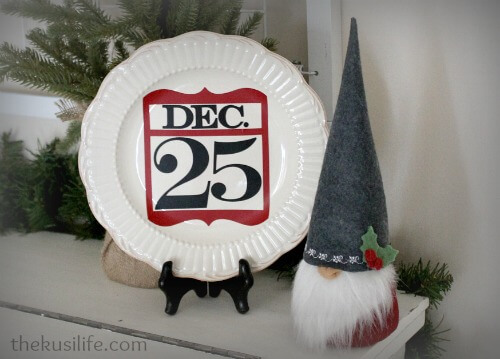
MERRY CHRISTMAS ! and SEE THE HAPPY!


Check out more fun red things from these bloggers, and add your own if you have something red to share.

I love these trees! They are so pretty and the textures of the ribbons make them interesting as well!