
Independance
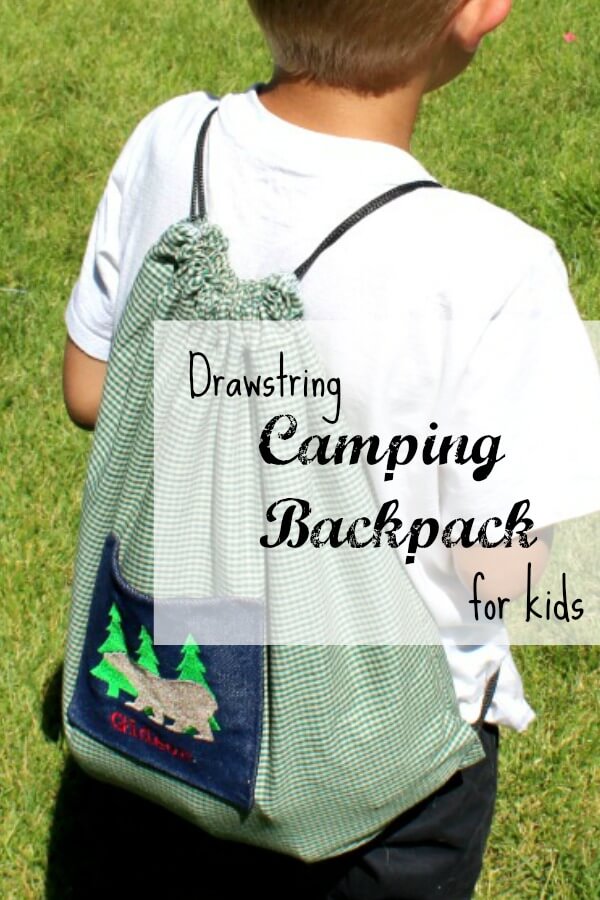
When our family was small and our kids were young I used to bring a bucket of general toys or fun things to have while camping. Now, with 5 kids in the family, everyone likes to bring their own camping gear. This year my 6 year old wants to make a camping backpack to put his OWN stuff in. So I’ve put together a tutorial to share with you, how to make a drawstring backpack to hold all those things kids want to bring for themselves.
*This post contains affiliate links which means if you click on a link and make a purchase, I will receive a small commission at no additional cost to you. Thanks for your support!*
 Items needed:
- 1/2 yard fabric- I recommend a light weight denim.
- 1/4 yard contrasting fabric for pockets
- 2- 58″pieces cording or grosgrain ribbon
- 2 -1/2″ eyelets and eyelet setting tool (optional)
- safety pin
CUT
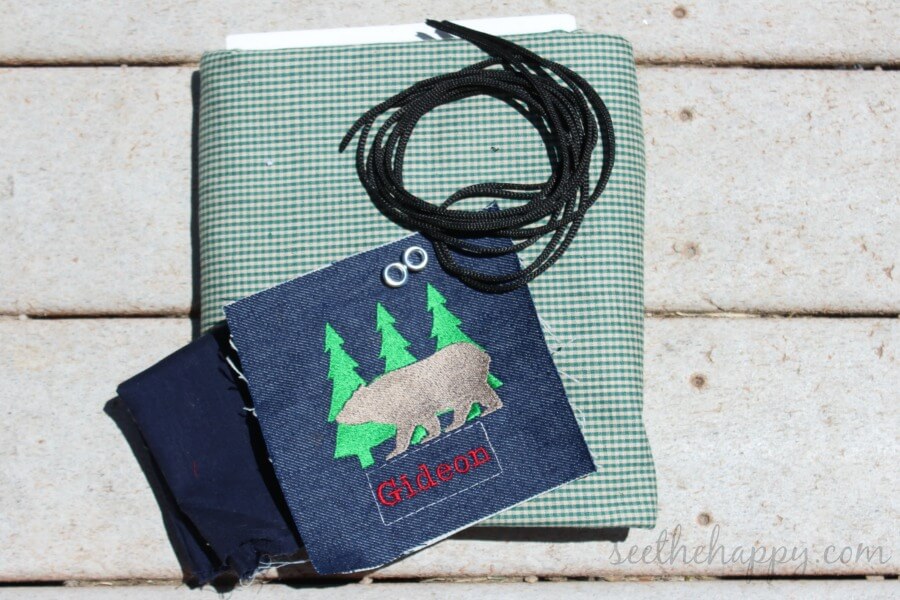
Main piece 18″x36″. Pockets, outside pocket 2 pieces at 6″x 6″ or whatever size you want, one piece is lining. I’m using a 6″x 6″embroidery sample that they sewed for me when I was looking to buy my embroidery machine. My little guy was with me so they let him choose what to embroider. **If you would like a personalized pocket, I can make you one. $7 for a picture + $3 for name. Email me at sewbeyondbeautiful@gmail.com to order** Inside pocket cut 2- 7″x 8″ pieces,one is lining. With right sides together, sew pocket lining and front together leaving a hole on the bottom to turn. Turn right sides out and iron.
Pockets
Lay the main backpack piece out bringing the two smaller sides together for the top of the bag, fold on the bottom. Pin the smaller pocket on the outside front and the bigger pocket on the inside back. Placement of pockets shown below.
I measured up about 4″ from the bottom fold for my front pocket. Remember when placing the outside front pocket that you will be creating a casing for the cording and it will be gathered so you want the pocket closer to the bottom than the top. You can just put the inside pocket wherever looks good to you. Attach pockets by sewing around the sides and bottom edges, sewing very close the edges .
Turn bag right sides together. Measure 2 1/2″ from top on both sides and mark this. Now sew down both sides from that mark, leaving the the top of each side open.
Casing
Fold top edge of bag down to the inside 1 1/2″ and sew all the way around the top edge, making a casing for the cording. 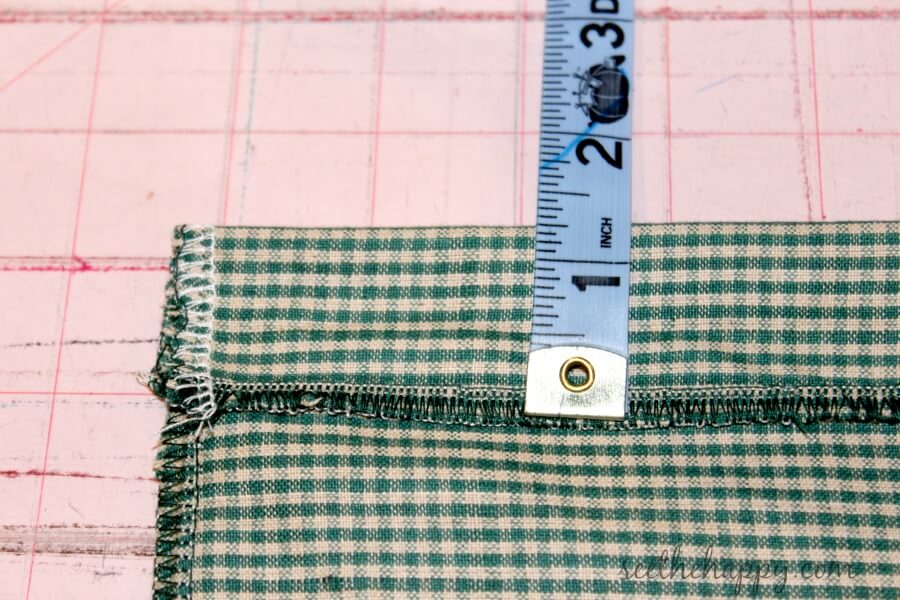
You should have holes on both sides of bag, in the casing. This is where you will thread the cording through.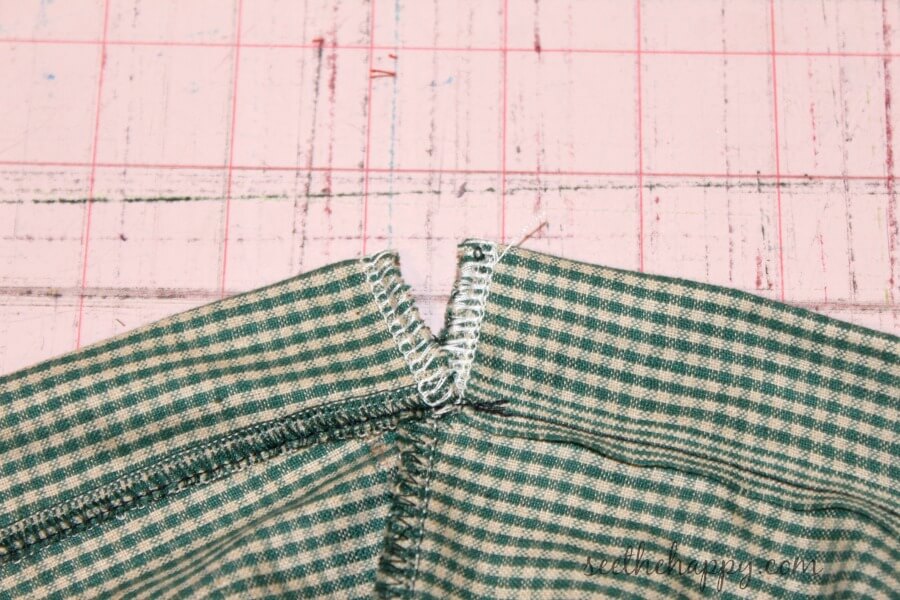
Using a safety pin attached to the end of one cording piece, thread the cording through one side and out and then through the other side so you end up where you started. Take your second piece of cording and do the same starting from the opposite side.
Eyelets
From each bottom corner, measure in about 1 1/2″ creating a triangle, mark and sew.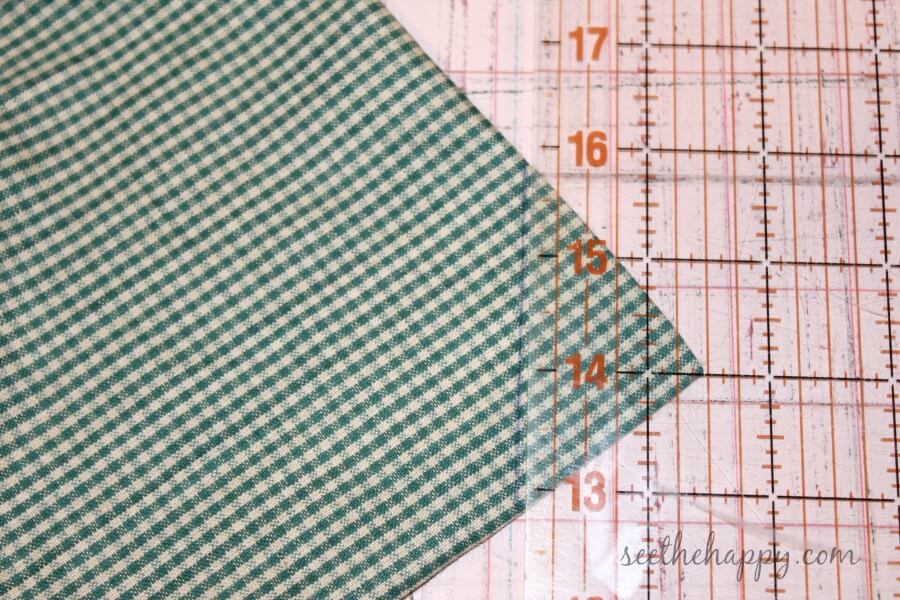
Cut small holes in center of triangle to fit eyelet and using your eyelet setting tool, set the eyelet in the center of your triangle.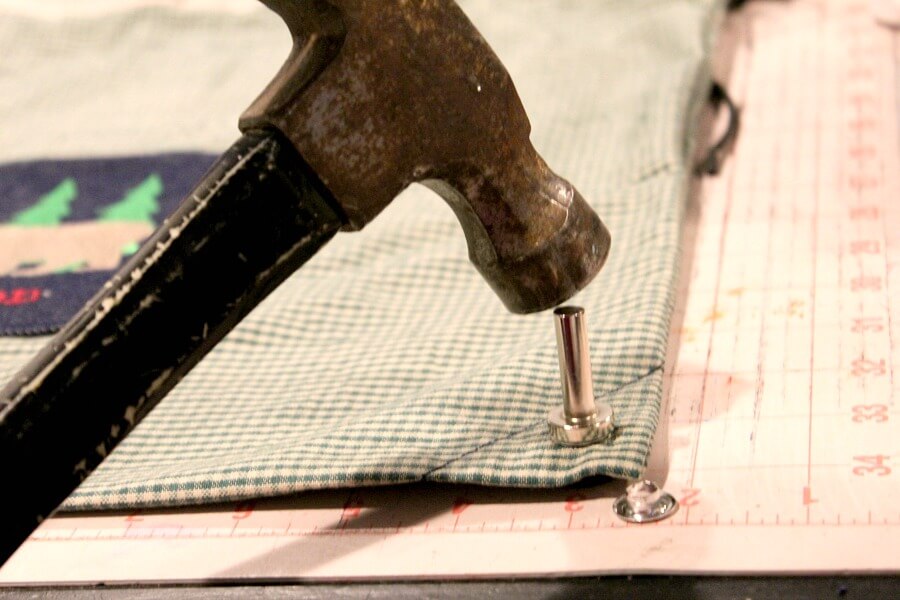
String the two ends of your cording through the eyelet and tie a know so that it stays .
Now your child has a place for their own things. Have them gather the items they want and fill their pack.
Items my kids like to bring camping are:
- spray bottle or squirt guns
- lasso Oh, the things you can lasso while camping!
- binoculars
- pencil and paper
- Glow sticks
- wiffel balls (put the glowsticks inside the wiffel balls at night)
- football
- camera
- prank bear call
- Ziplock bags- for collections
These drawstring backpacks can be used for a number of other things like swimming, sports or gym bag, trick-or-treating, day pack holding lunch or extra shoes, school bag etc.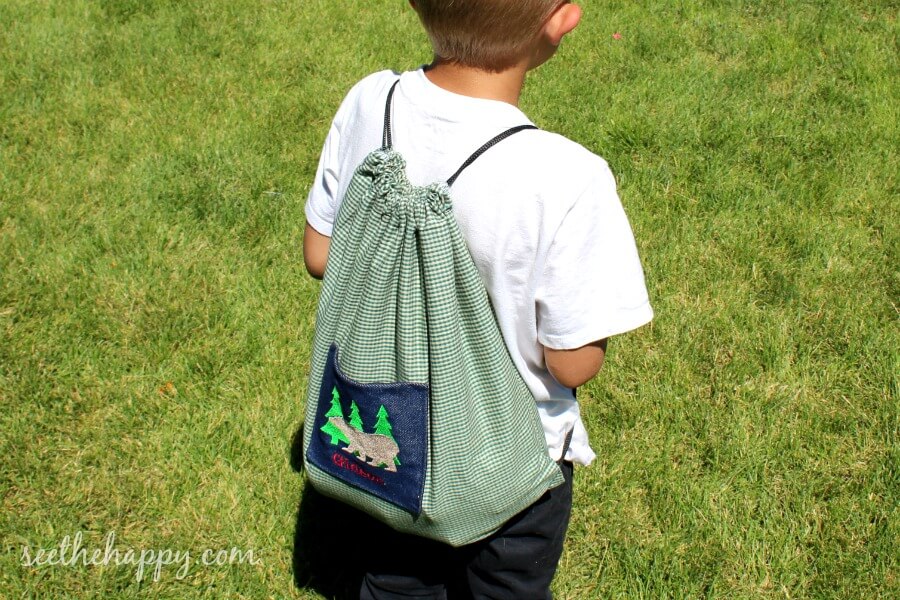
Have fun and be safe on your camping trips this summer.
SEE THE HAPPY!
