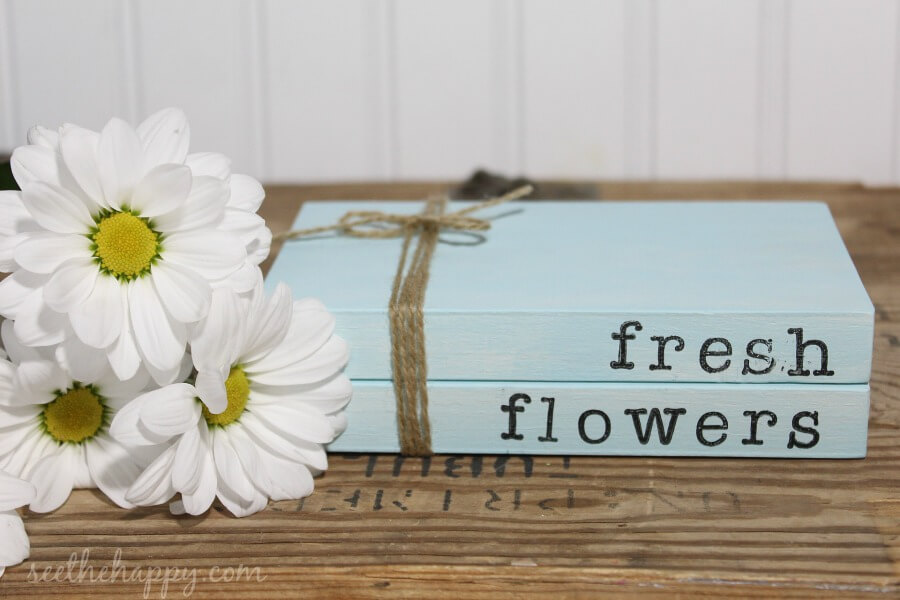
 Stacked Book Obsessed
I’ve seen a number of these super cute stacked book decor on Instagram lately. I’ve been wanting to make some for myself. They look so cute grouped with the gnomes that I make and sell at sewbeyondbeautiful.com.
The ones I’ve seen looked like wood to me, but as I looked closer, they’re books that have the cover ripped off. I do like the look of those and may try it that way as well. But the set in this tutorial will be made of wood.
I love these because you can personalize them however you’d like. Some people put wedding or birth dates on them, as well as family names. I want to make some for holidays and that go along with different gnomes I make. So today, it’s “fresh flowers” for spring and I’m painting them with pastel colors to go along with the Inspire My Creativity theme for the month, “PASTEL”.
Items needed: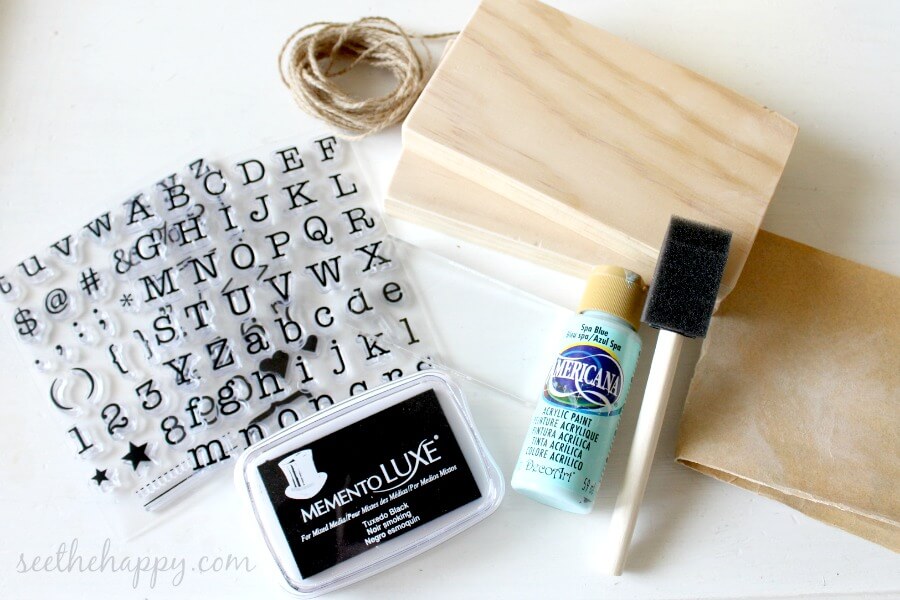
- 1″x 4″ slat of wood- CUT TO 6″ length pieces- I’m using 2 for this tutorial
- 220 Sand paper
- Acrylic paint
- Letter stamps- clear rubber ones work best so you can see where you are placing the stamp
- Clear Stamp Block
- Black ink pad
- Sponge brush
- Jute string
- Wood glue
Step 1
If you haven’t already cut your slat of wood to 6″ pieces, do that now. Then sand each piece so there are no rough spots.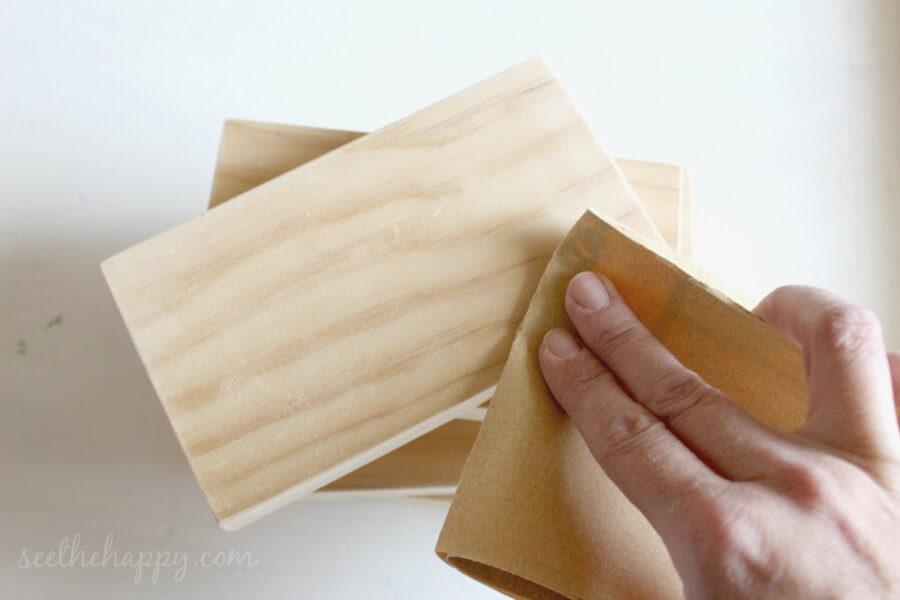
Step 2
Paint each piece of wood completely, with acrylic paint. I love how fast acrylics dry, it makes these kind of projects go super fast.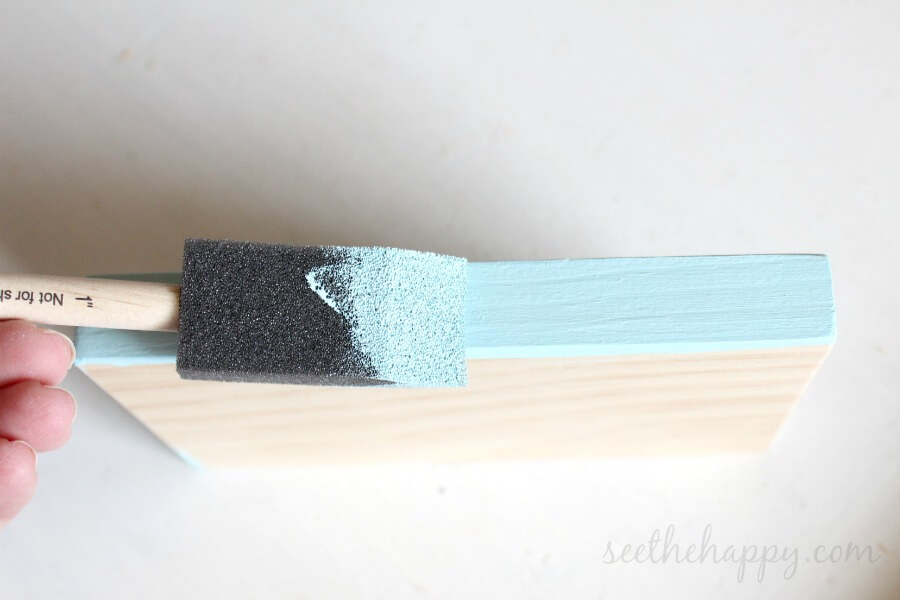
Step 3
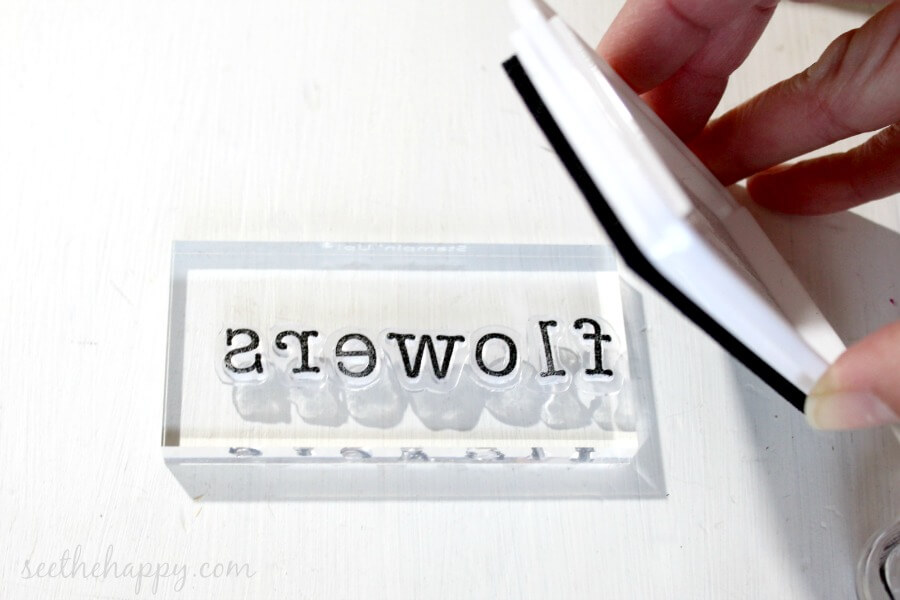
Place the each letter in line on the clear block, spelling out the word you want for the first book. Place them as straight as you can. (After stamping “flowers” I noticed some of my letters were spaced a little farther apart than I would have liked. So for my next word, I trimmed around a few of the letters that wouldn’t allow me to place them as close as I would like. So consider that as you place your letters).
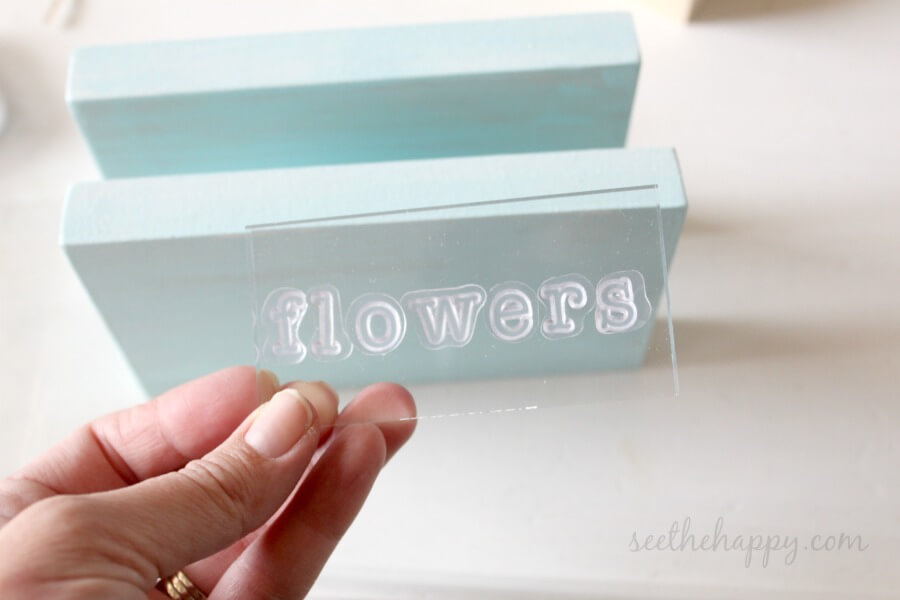
With the clear block laying face up on the table dab it lightly with the ink pad. If you push too hard then ink gets on parts of the stamps you don’t want.
Stamp your words onto the edge of the wood piece, near the right edge. If you make a mistake or don’t like how it looks, you can always repaint the block of wood and start again.
It’s nice to have a baby wipe or clorox wipe ready to clean the stamps off immediately after use.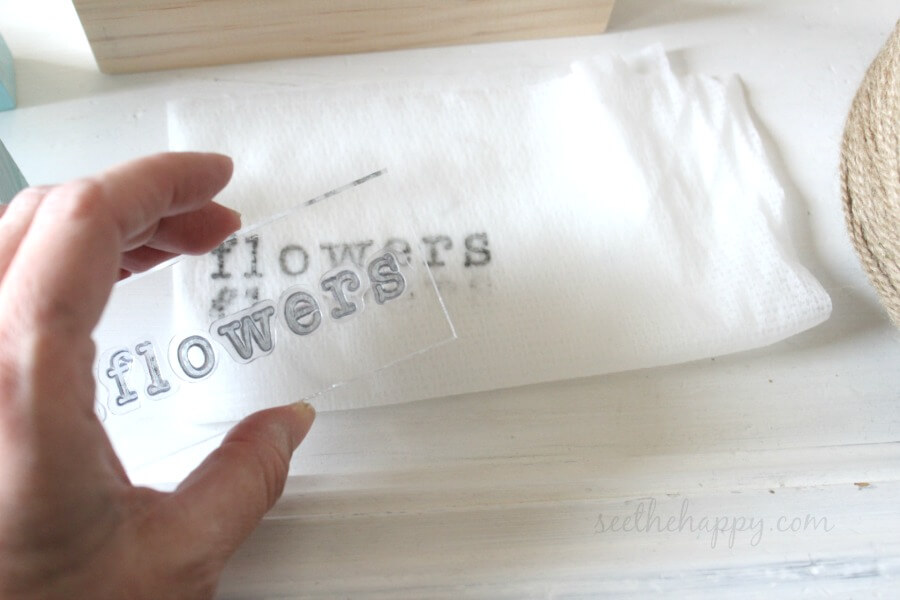
Step 4
Put some wood glue in between the two wood books and let it dry in place for a bit.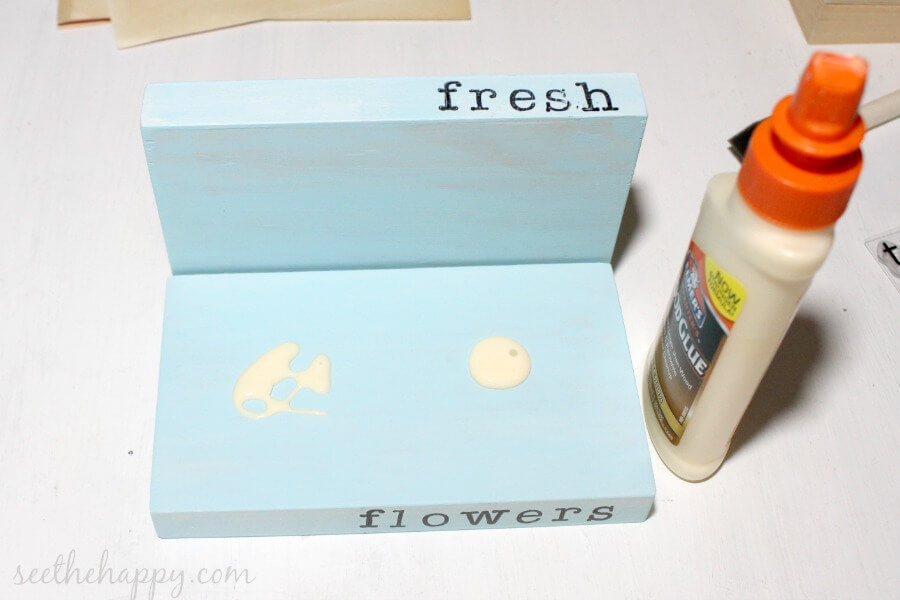
Step 5
Once the glue is dry enough that the books don’t slide, take the jute string and wrap it a number of times around all books to the left of the words. Once you have wrapped it around to your liking, tie a bow and you are done.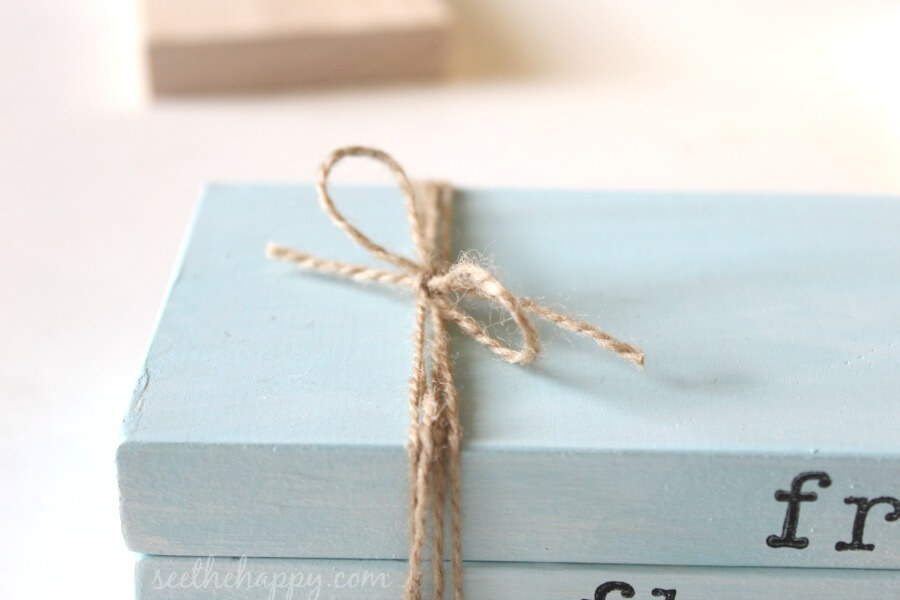
Now add it to your seasonal decor. 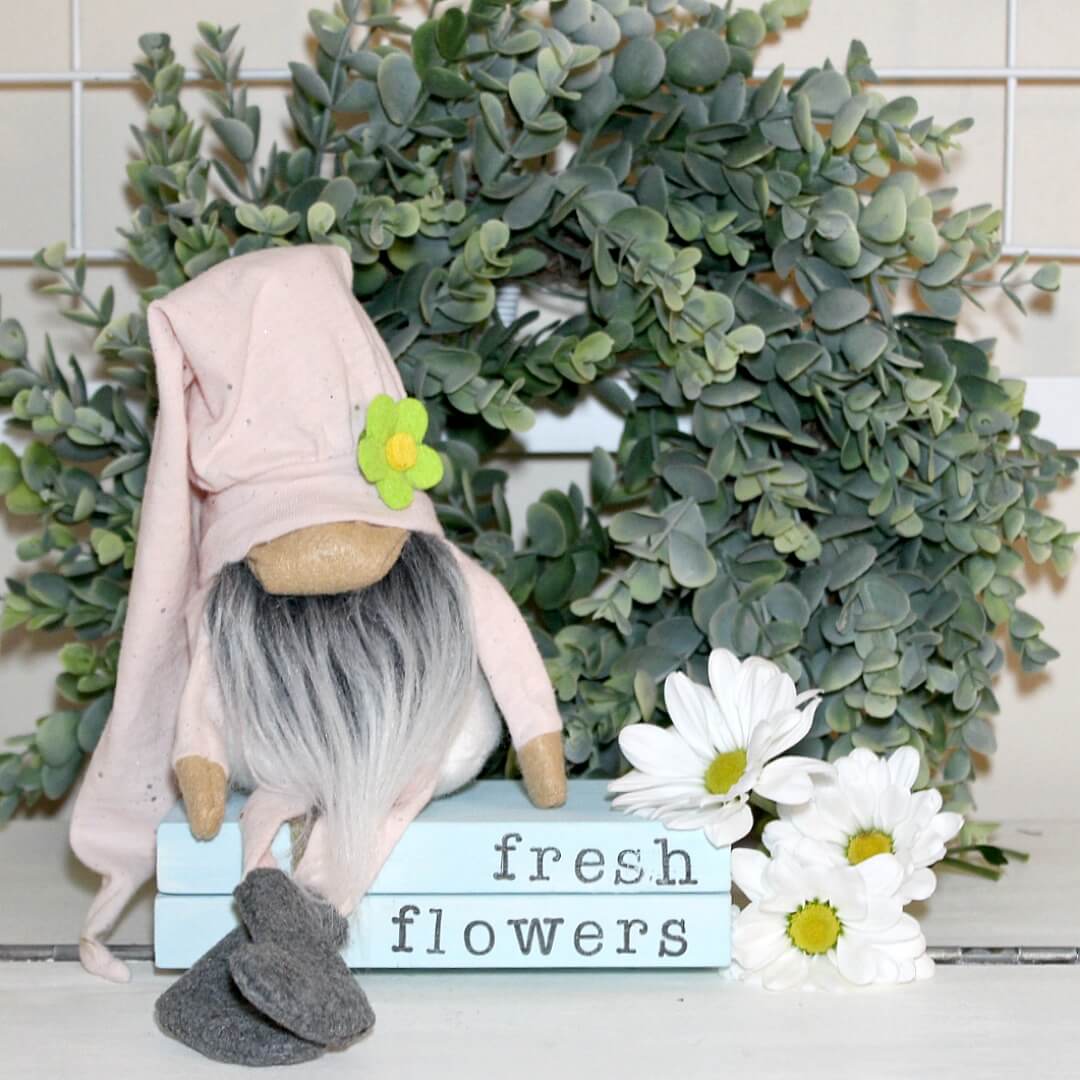 I am in love with this stacked book decor and will likely be making one for every holiday/season. And maybe even a few other rooms in the house. I hope you enjoy having your own homemade decor in your home as much as I do.
SEE THE HAPPY!

See more pastel craft ideas from these other bloggers in the Inspire My Creativity link up!! And link your own if you have a pastel craft to share. Then join us next month for the theme “something to wear”.
Stacked book decor

I’ve made the book stacks, but never thought to use wood. They are SO cute! I love them stacked with your gnomes! Such a darling display!
So stinkin’ cute! And easy too!
These books are perfect! I’ve so in love with the stacked book decor and this is so easy to make. Pinning to try!
These are so cute! I love reading and all things books. I think I need to make some of these!
Oh, wow! I really thought this was a couple of upcycled books! Nicely done.
I just love everything about this! It’s a beautiful display!
So. Dang. Cute! I totally thought these were books until I got further into your post. I love the idea of stamping on the side of the blocks. And of course, your gnomes look darling sitting on top.
Thank you Shani. I’ve been making some with books as well and I love both ways.