Now it’s constellations
The teenage years are rough. I think it’s because it’s the time of life when you’re really trying to decide who you are, what you love, what you believe and what you want to become. I see this so much with my daughter. She is 15 1/2 years old now. I feel like her taste has changed so much as a teen. It has only been a year or two since she wanted her wall a peachy pink color and she has been telling me for a while now that she’s “sick of the pink”. Her new thing is the stars, particularly constellations. She wants to travel the world some day so maps of the world, and now maps of the sky are her new passions. She even wants to memorize all the constellations and see each of them in the sky some day.
This new found love has created a desire to change her room color to navy blue. We haven’t decided if we should just add a bunch of navy blue decor or if we should re paint her wall blue, or back to the cream color it was originally. We decided for now we can do something small so we came up with this canvas painting idea.
Where to start.
I had this vision in my head when we thought it up and it looked pretty cool. But as we began to do this project I started to get a little nervous about doing it and having it flop. Originally we wanted to do it on a HUGE canvas but when I saw that the price of the largest canvas was $100, we decided to go smaller. In fact, we took it a step further and decided to find a canvas at DI to save even more money. There were many sizes to choose from but we decided to go with this 12 x 36.
What we used: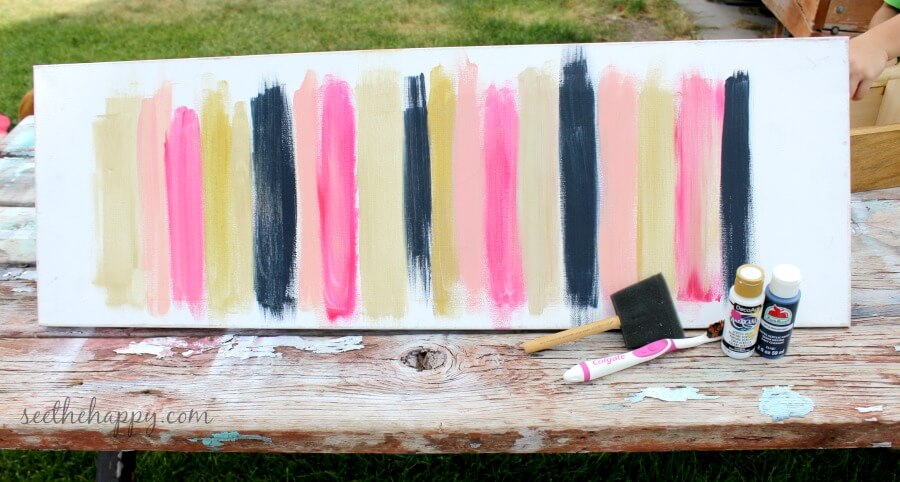
- canvas- ours is 12 x 36 ($3 at the thrift shop)
- 2 Blue and white acrylic paint- The name of the blue I used is English Navy Apple Barrel brand found at walmart for 50 cents each I used 2 full bottles. My white paint is Deco Art Americana Cool White
- Foam paint brush
- An old tooth brush
- White colored pencil
- Straight pin
- White chalk
- Ruler
- BBs (optional) I laid these out on my canvas to see where to put the dots for the constellations. You can use whatever you have laying around
First
I had my daughter choose 5 of her favorite constellations while I painted the canvas. I did about 3 thick coats of paint to be sure the canvas was completely covered. Be sure to let each coat dry in between. 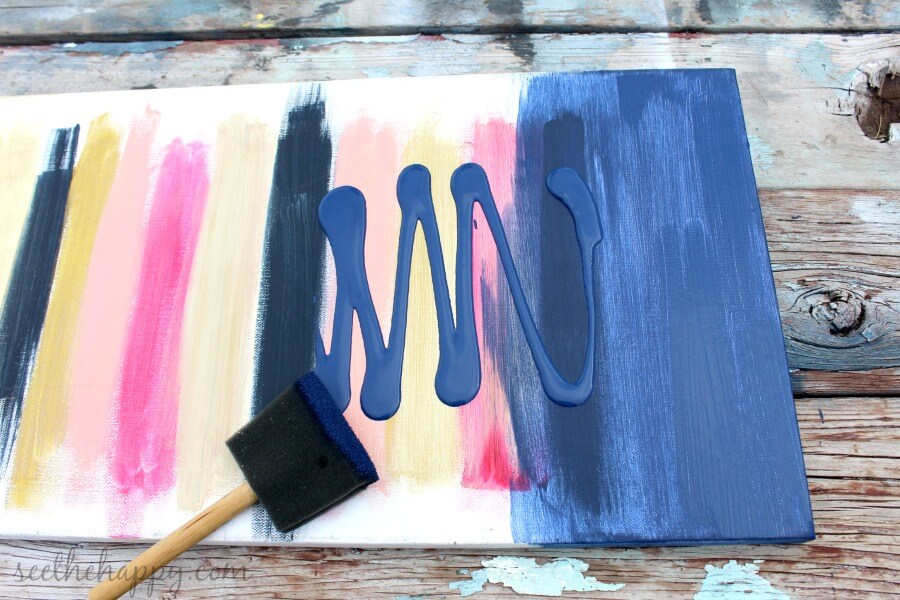
After I was sure I got the coverage I wanted and the blue paint was dry, I pulled out the white paint and dipped my brush in it then ran my thumb across the bristles, over the now blue canvas, to create star like speckles all over. 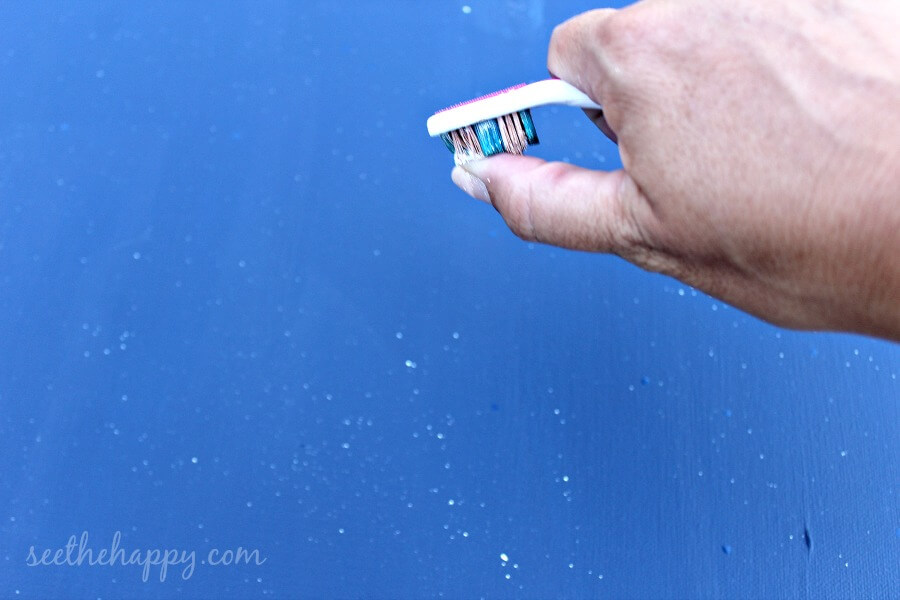
Once that dried I divided the canvas into 5 equal sections and figured out the placement of the constellations. 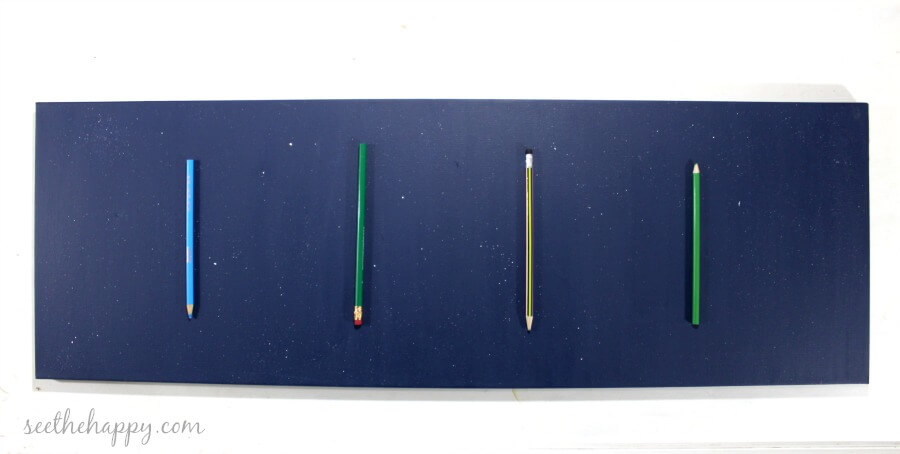
My husband had just taken my boys camping and someone had left their BBs out so they became the place holder for the dots to create each constellation.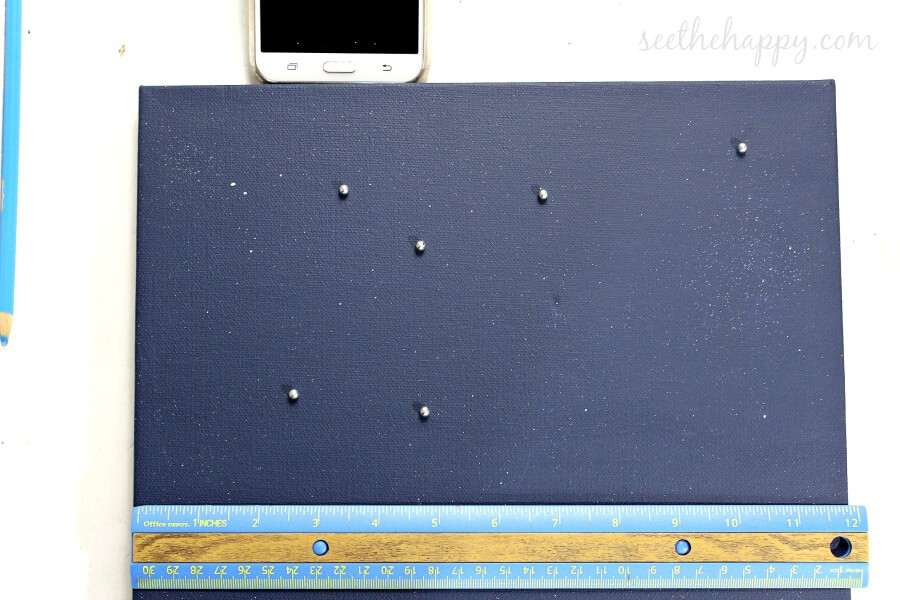
Using the pin head dipped in white paint I replaced each of the BBs with a white dot.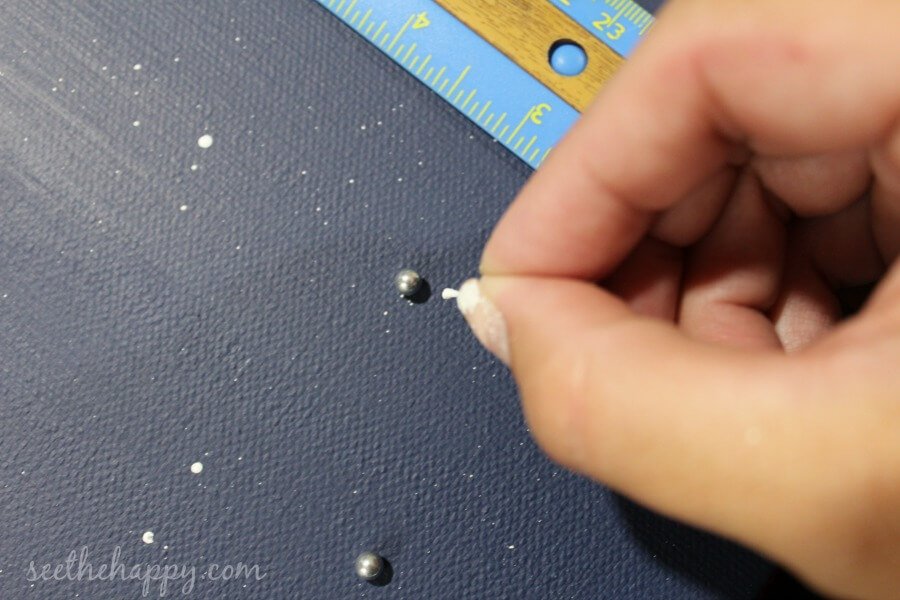
Each time I finished a constellation, I wrote the name of that constellation with chalk, this way if I made a mistake, I could just wipe it off with a wet rag before making it permanent.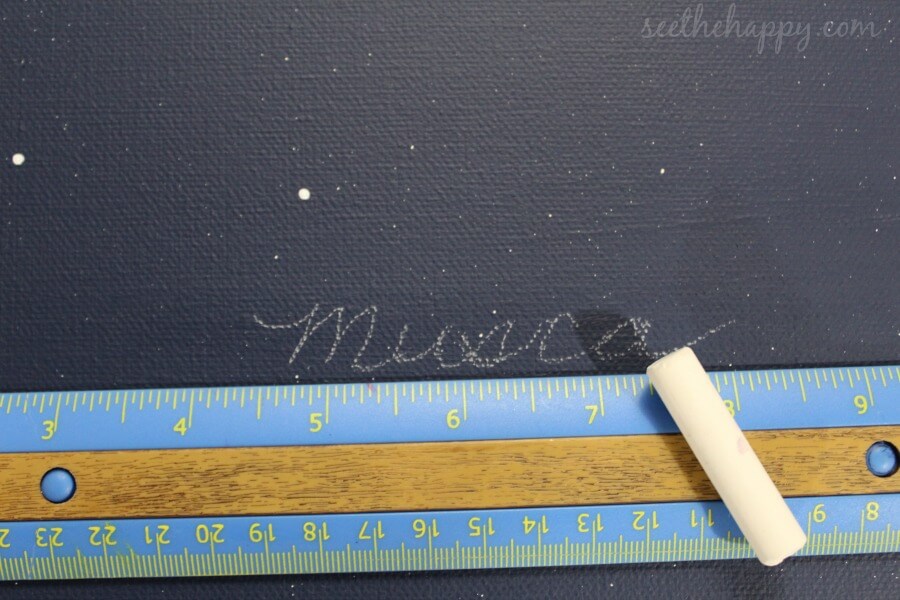
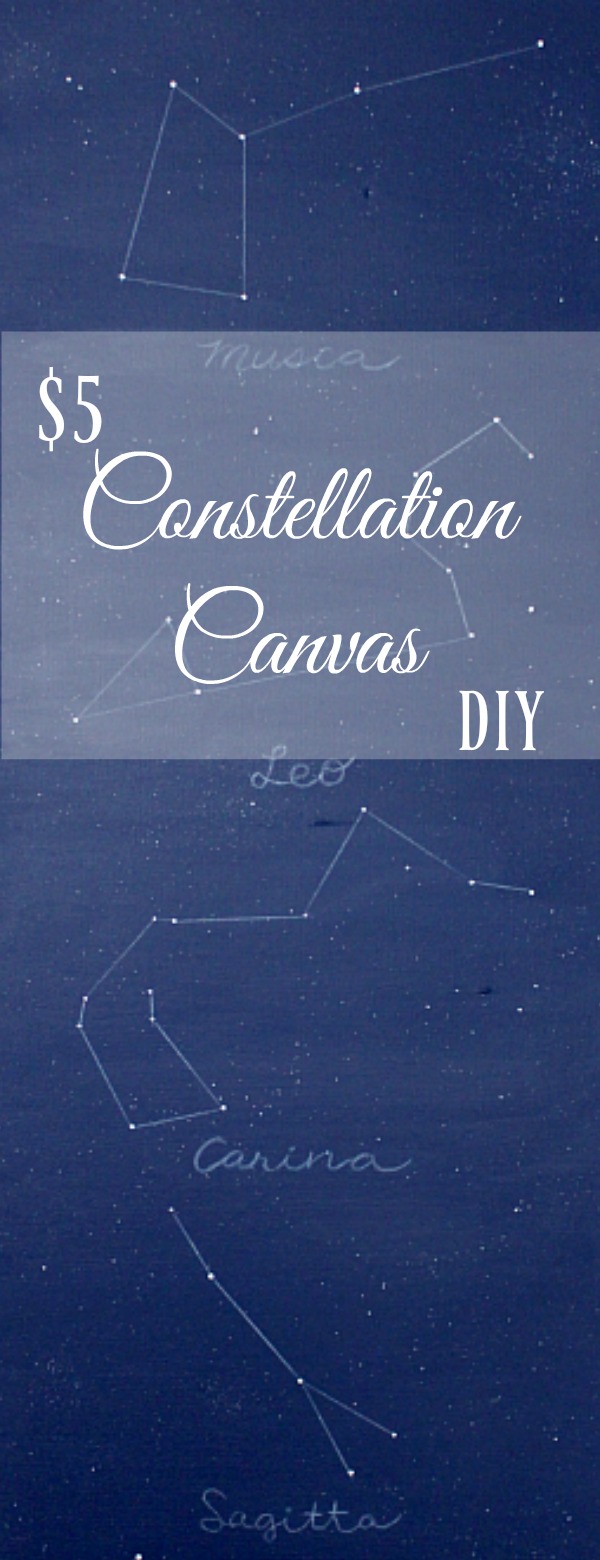
Once I finished placing the paint dots for the constellations, it was time to connect them. Using a ruler and white colored pencil I connected the dots to create the constellation. 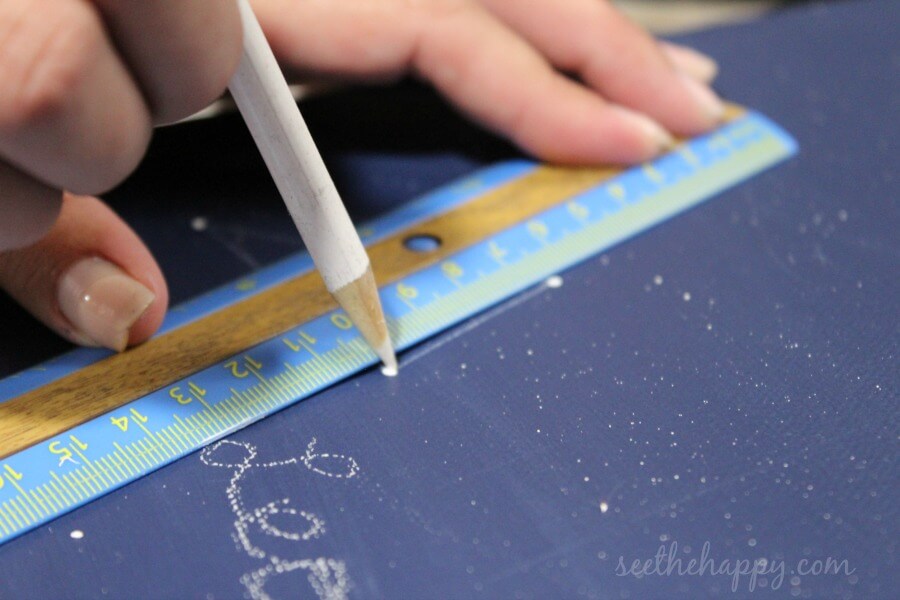 Then with that colored pencil, I traced the names I wrote in chalk, then wiped the chalk away lightly with a wet rag. I made mistakes and erased them easily with a white eraser, yay for that.
It’s finished!!
I’m not sure that I like my own handwriting on it, so the thought crossed my mind to use my cricut to make it look more perfect but my daughter liked it the way it was, so we left it at that.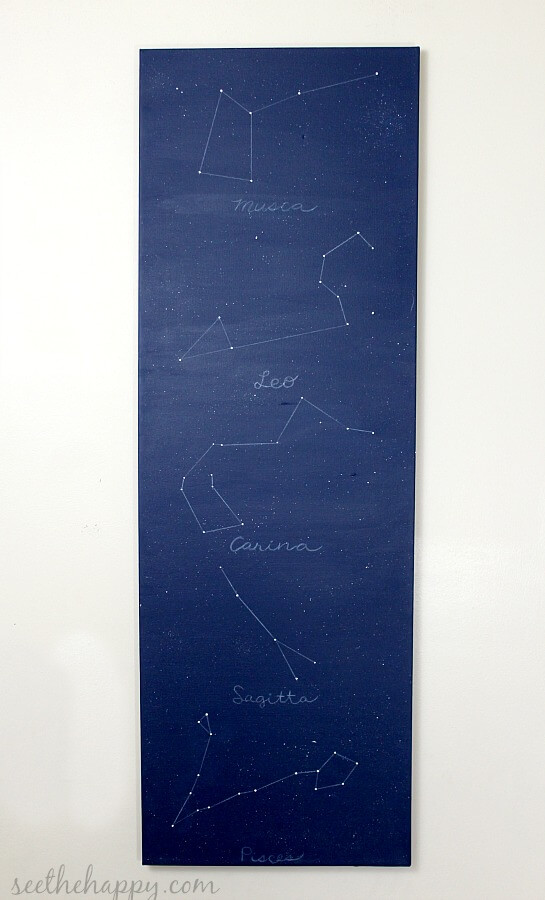
I hope this inspires you to create unique pieces for your home. Check out other “blue” themed items in our Inspire My Creativity link up below and if you have some to share please do so.
SEE THE HAPPY!




That turned out amazing! And bonus that you found canvas at a thrift shop. Woot!
Thank You Steph!! Yes, getting the canvas at the thrift shop saved us some money, and I’m all for saving money.
Wow! I love this idea! Soooo cute and what a great way to upcycle those canvas panels. Thank you for the great idea 🙂
Thanks Lisa!! Upcycling was a money saver on this one.
I mean are you kidding me?! This is so brilliant! Teenagers rooms are H A R D to decorate! I love this so much!!! Going to do this!
I’m glad you like this Kay. It’s about as easy as it can be, to make, and super cheap. Enjoy!
I absolutely love how this turned out! It makes me want to make one for our house, too. I agree with your daughter, your handwriting looks perfect as it is on it, kind of like notes on a blueprint.
Thank you Marie, you are so sweet! You should make one.
What an amazing idea!! I love the constellations and how easy it was to make! Thanks for sharing!
Thanks Amy!! It really was an easy one:)
I love this! I love how it is one of a kind and personalized to your daughter’s preferences. So cute!
What a fun idea! love this idea for a decoration!
Thank you Adree!My dughter really loves having it in her room.