
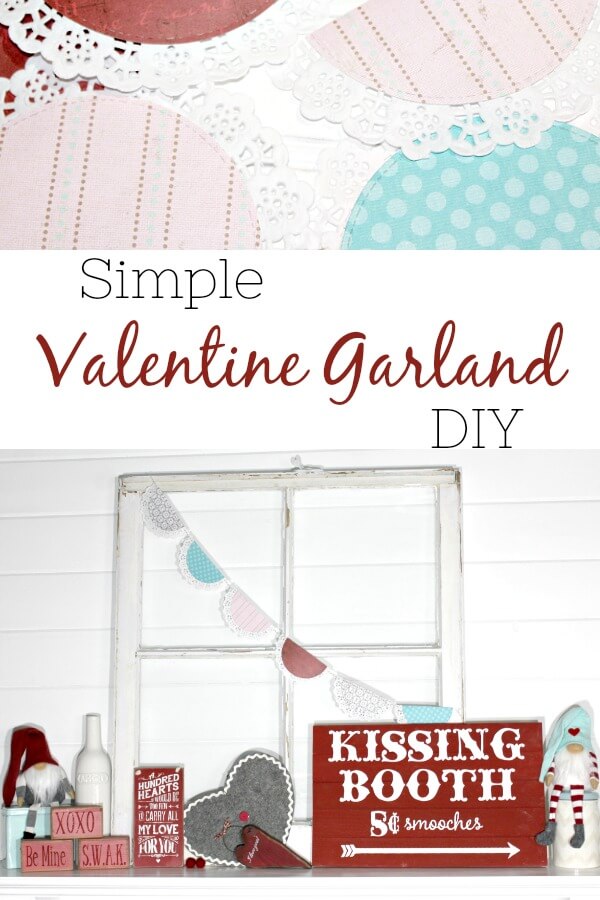
Valentine’s Already?
I know, I know. Maybe you aren’t ready for a Valentine Garland yet, but I am. I’m in need of some happy colors right now. I don’t know what it is about January. I love making New Year’s resolutions and I always get an itch to re-organize my home. But I just feel blah most of the month. I am still trying to get back into the groove of things. December was extra crazy this year so I took a much needed break from Christmas to New Years and now I don’t know where to start.
SO, why not make a Valentine Garland for the Inspire My Creativity link up? HA! Thank goodness the theme was a freebie this month. Putting together a Valentine Mantel boosted my spirits and sharing it with you makes me happy too.
**This post contains affiliate links, which means if you click on a link and make any purchase, I will receive a small commission at no additional cost to you. Thanks for your support!**
Items needed: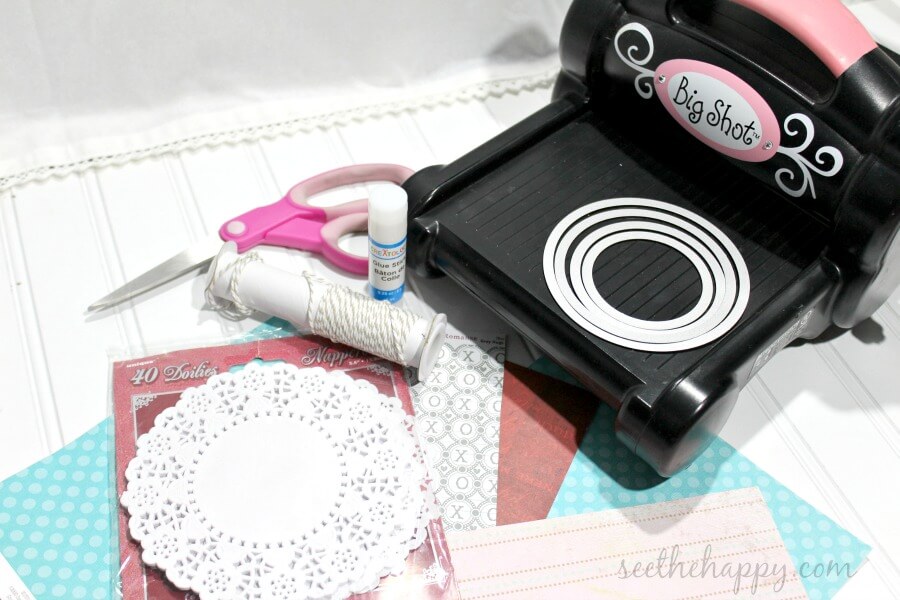
- Paper doilies, You can likely find doilies at the dollar store this time of year- that will save a few $
- Scraps of fun Valentine colored paper
- Anything to cut a circle- I used my Big Shot with circle die cuts. You can simply trace a cup and cut it as well.
- Glue stick
- String/twine
- Scissors
Step 1
Decide what size circle you want. How much of the lacy part of the doily do you still want showing? 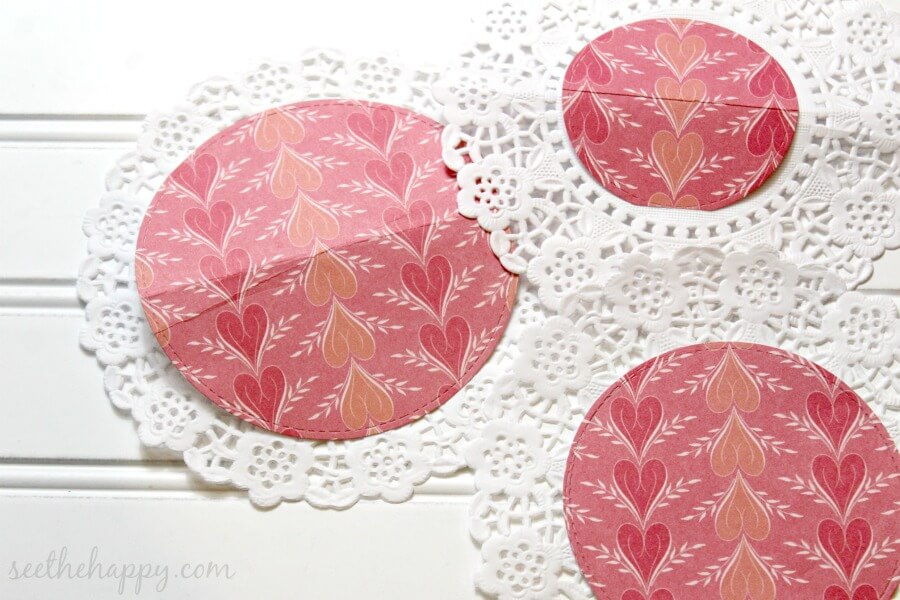 At first I though I wanted to just cover the solid middle of the doily. But when I did that, I didn’t really like it. I felt like it didn’t have enough color and had way too much lace. So I tried the next size up and still wanted more color. I went with the biggest one I had that didn’t cover the whole doily, and I’m good with it. You decide what you like and go with that. Cut the circles the size you want and the amount you need to cover the space you want to cover.
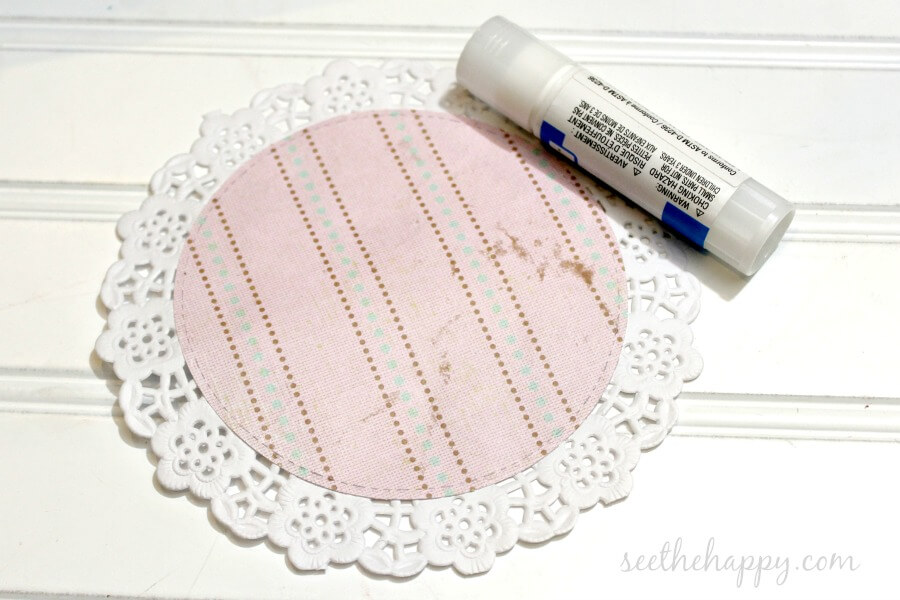
Step 2
Now glue those circles to the center of each doily, using your glue stick.
Step 3
Cut each of those doilies in half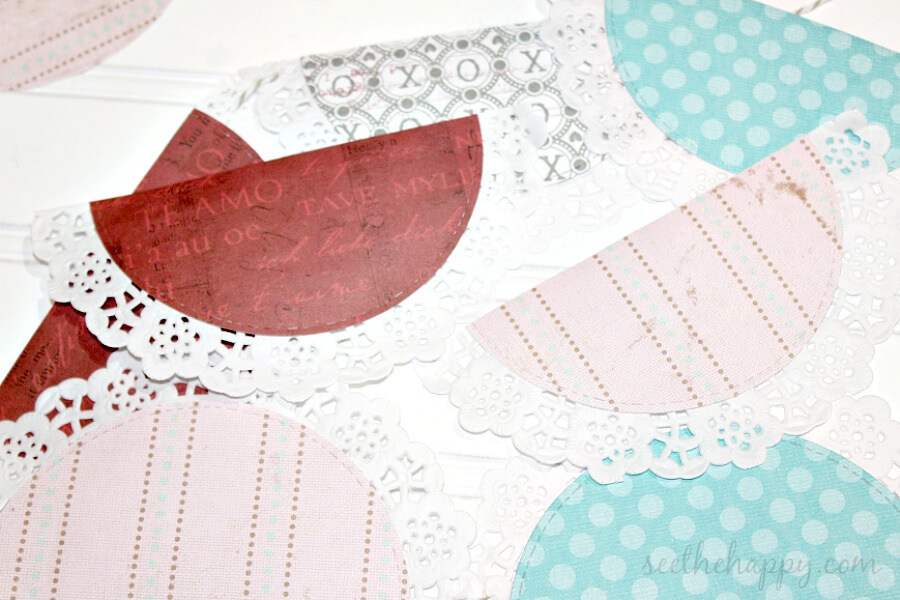
Step 4
With a knot at the end of your twine, string the doilies onto the twine, through the holes of the lace, spacing them as you would like. 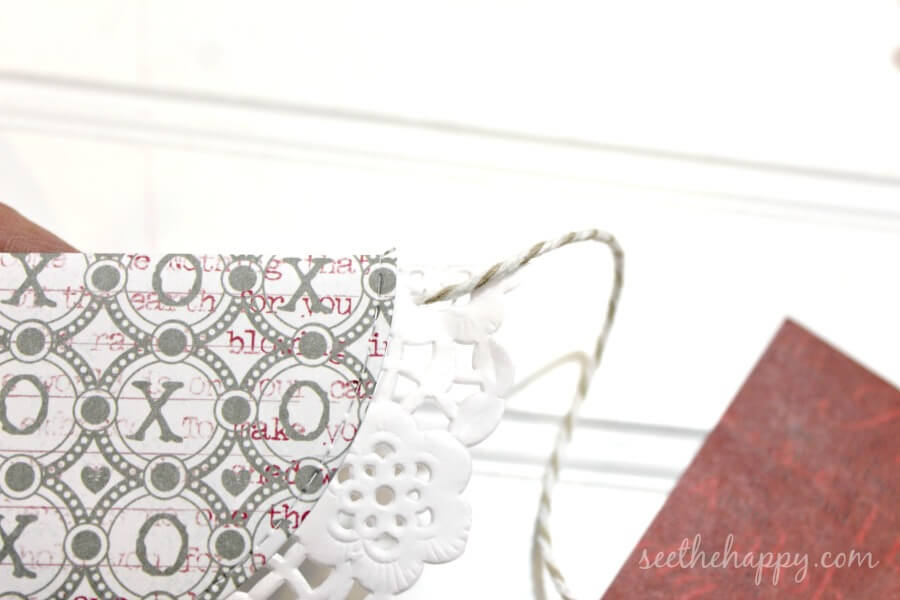 Depending on the holes in the doily, you may need to make the holes bigger with a small paper punch, or do what I did and use a pencil or pen to gently stretch the hole big enough to get the twine through. Once you have them all on cut the other end of twine and tie a knot.
Step 5
Decorate! Then sit back and be proud of yourself for making that dang cute thing.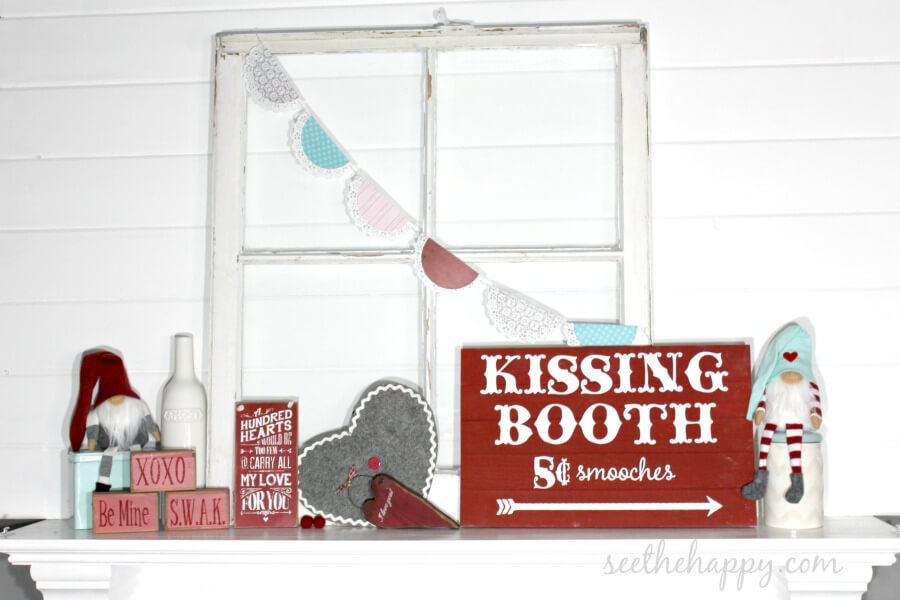
Here’s to a brighter January! Happy crafting!! SEE THE HAPPY!
Check out more fun crafts from the list of bloggers below and Join us next month for the theme “Buttons”


What a darling garland! I love decorating for Valentine’s day and this looks like the perfect project.
I think this is the most darling garland. I guess I am making another trip to Joann’s this week! I have the perfect spot for a vintage garland.
Thanks Sarah! Glad you can use this idea. I go to Joanns more than I should as well:)
Such a sweet project! I’m totally using this for my Palentine’s Day Party! (you read that right)
AWESOME! I’m glad you can use it. Sounds like a fun party:)
That is such a cute garland! I also love the way you styled it on the window!
LOVE this! So cute!
Great idea to use the lace dolly’s! Very pretty and romantic!
That garland is so cute! I love the bright pops of color and the lace it’s so pretty!
So simple, and it adds just the right touch. I love it!